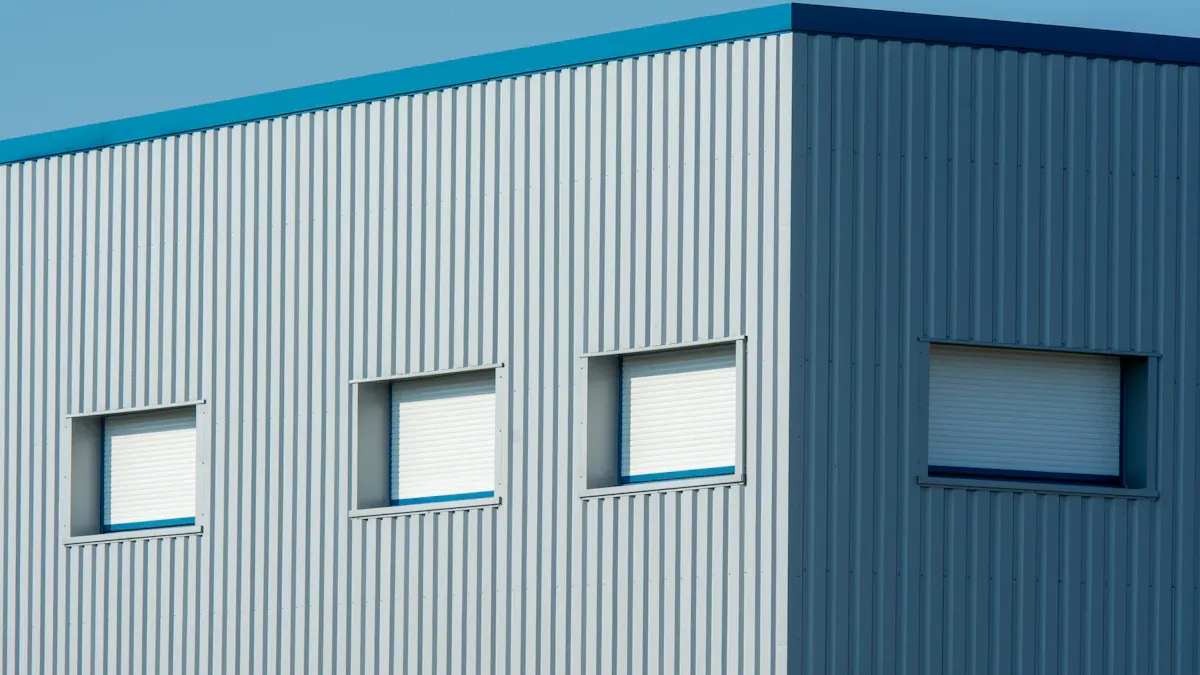
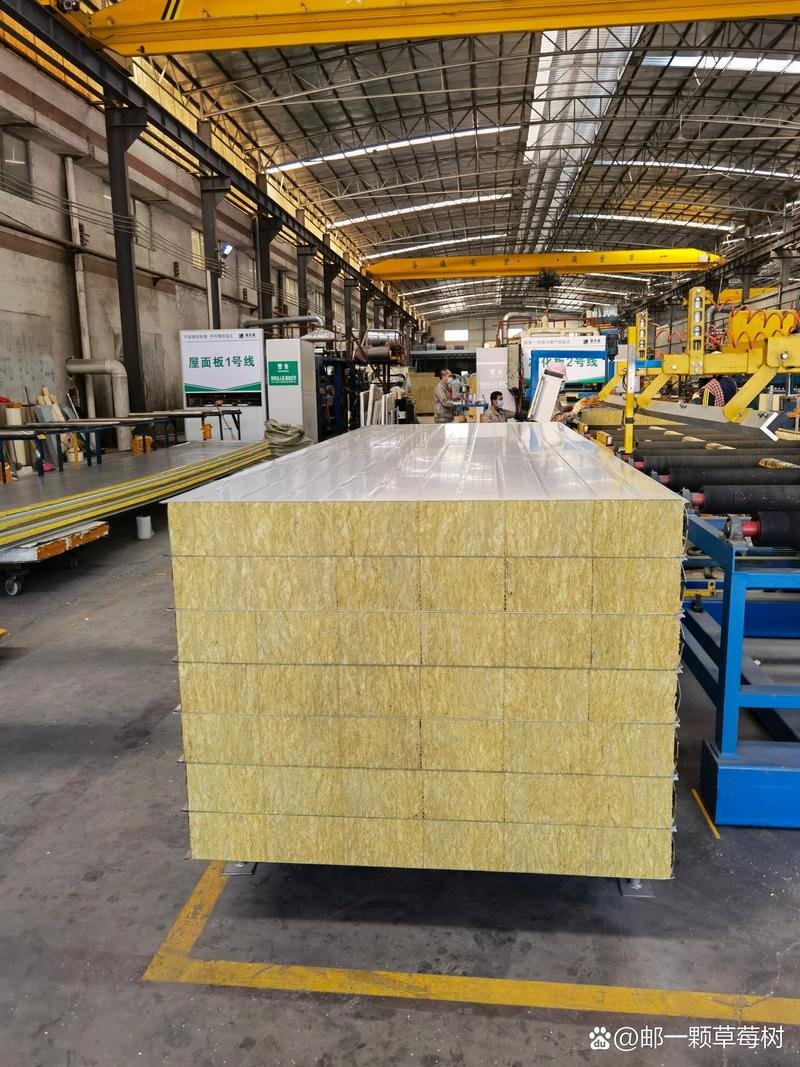
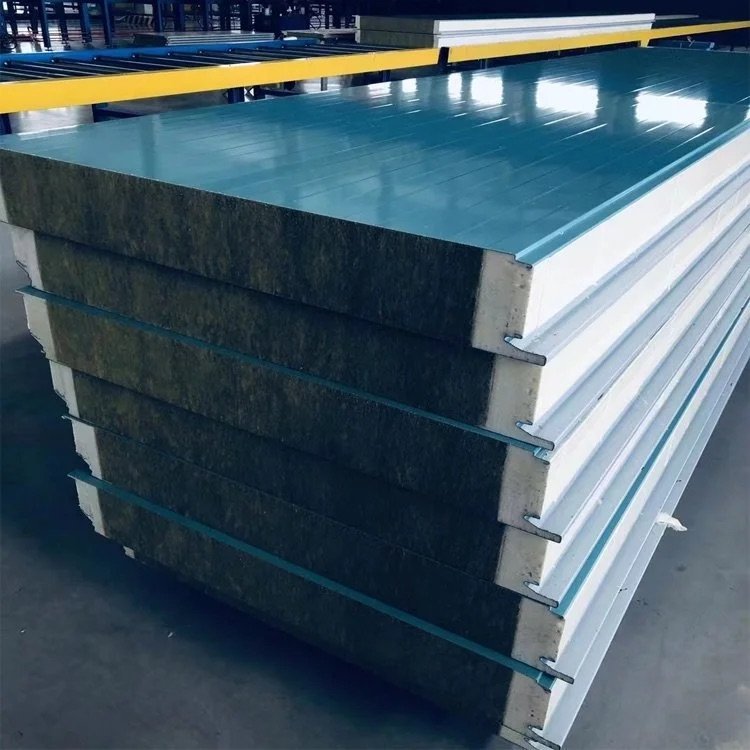
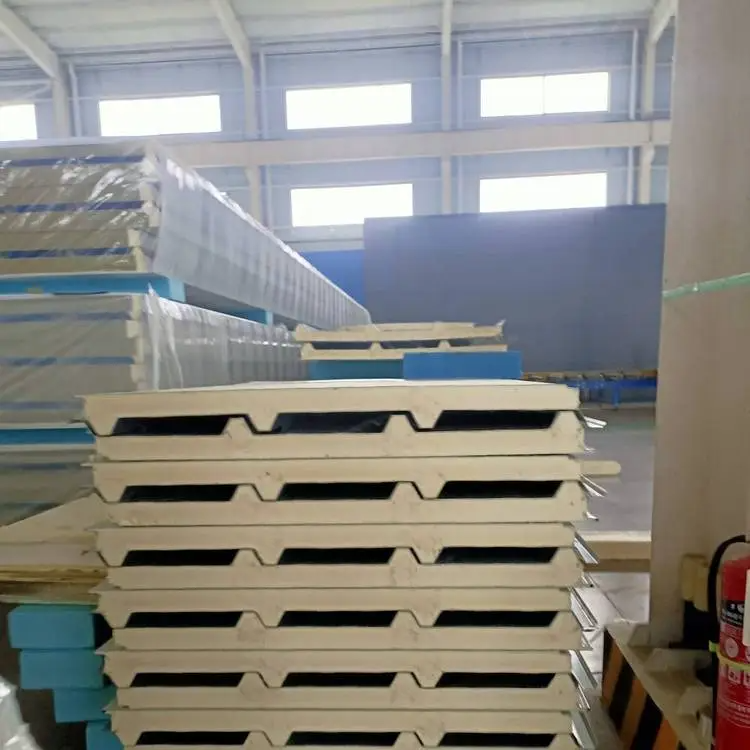
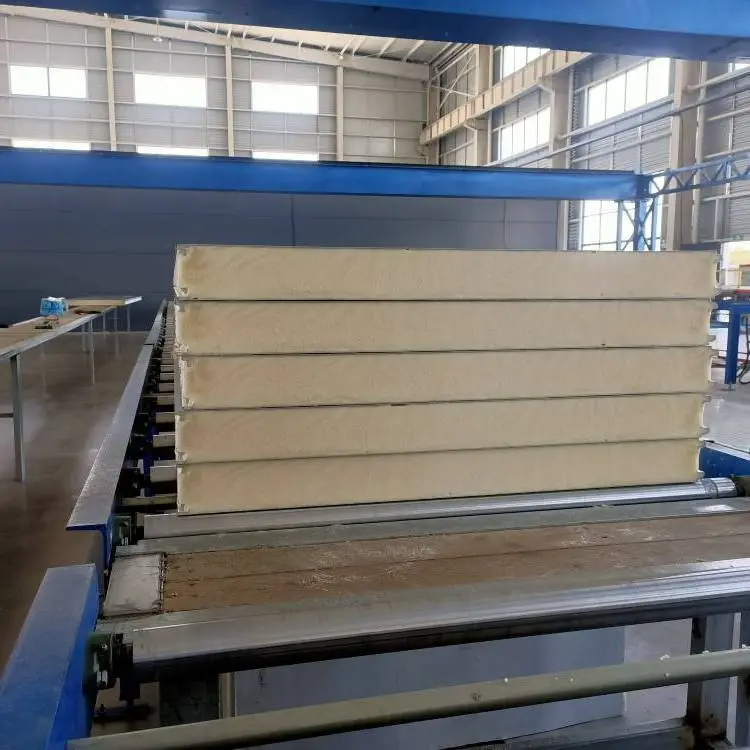
Roof sandwich panels are important in today’s building projects. They are a smart choice for roofing needs. These panels have two outer layers and an insulating core. They help save energy and stop heat from passing through.
Here’s why they are great:
U-factor values range from 0.29 to 0.05. This means they insulate very well.
Solar heat gain coefficient (SHGC) values can go as low as 0.04. This helps block heat from the sun.
These panels are strong but light, making them easy to install. They last a long time and save money. They also help the environment by being energy-efficient.
Key Takeaways
Roof sandwich panels keep heat in and lower energy bills.
Use proper tools, like seamers and drills, for safe installation.
Check the roof and measure well to avoid errors.
Stay safe by wearing gear and keeping the area clean.
Clean and check panels often to make them last longer.
Tools and Materials for Roof Sandwich Panel Installation
Important tools for installation
To install roof sandwich panels, you need proper tools. These tools help with accuracy and safety. Here’s a list of must-have tools:
Mechanical seamers and hand crimpers: These secure panels tightly for correct installation.
Drills and screwdrivers: Use these to attach panels to the roof.
Measuring tape and chalk line: These help measure and keep lines straight.
Utility knife or panel cutter: These cut panels to fit the needed size.
Safety gear: Wear gloves, goggles, and a helmet to stay safe.
The Structural Insulated Panels Product Guide by APA says using the right tools meets building rules and makes panels last longer.
Materials needed for roof sandwich panel installation
Since roof sandwich panels have layers, specific materials are required. These include:
Roof sandwich panels: Pick panels that match your project needs. PAC T-250 panels, made of steel or aluminum, work well for low-slope roofs.
Fasteners and clips: Concealed-fastener clip systems allow panels to expand with heat, as D.I. Roof Seamers suggests.
Sealants and adhesives: These seal edges and joints to stop leaks.
Insulation foam: This improves how well the panels keep heat out.
The International Residential Code Section R610 highlights using good materials to follow building rules.
Extra tools for better efficiency
Essential tools are enough, but extra tools can help. These tools make installation faster and easier:
Laser level: This tool helps align panels perfectly.
Panel lifters: These lift and move heavy panels easily.
Cordless power tools: These tools are quick and easy to use.
Advanced tools like these save time and effort, especially for big projects.
Preparing for Roof Sandwich Panel Installation
Checking the roof structure
Before starting, check the roof carefully. This ensures it can hold the panels and is safe. First, look for obstacles like vents or chimneys. Measure the roof size and check its slope to match the panels.
Fix any damage, like cracks or leaks, right away. Repairs make the roof strong for the panels. Check if the roof can handle the panel weight. Also, see how long the roof will last. If it’s old, replace it before installing panels. Make sure the roof follows local building rules to avoid problems.
Measuring and marking the area
Good measurements are key for proper installation. Use a tape measure to find the roof’s length and width. Mark the area with chalk lines for clear guides. This helps place the panels correctly and keeps them straight.
Check your measurements twice to avoid mistakes. Even small errors can cause misaligned panels, weakening the roof. Clear markings also help plan the layout better, saving time during installation.
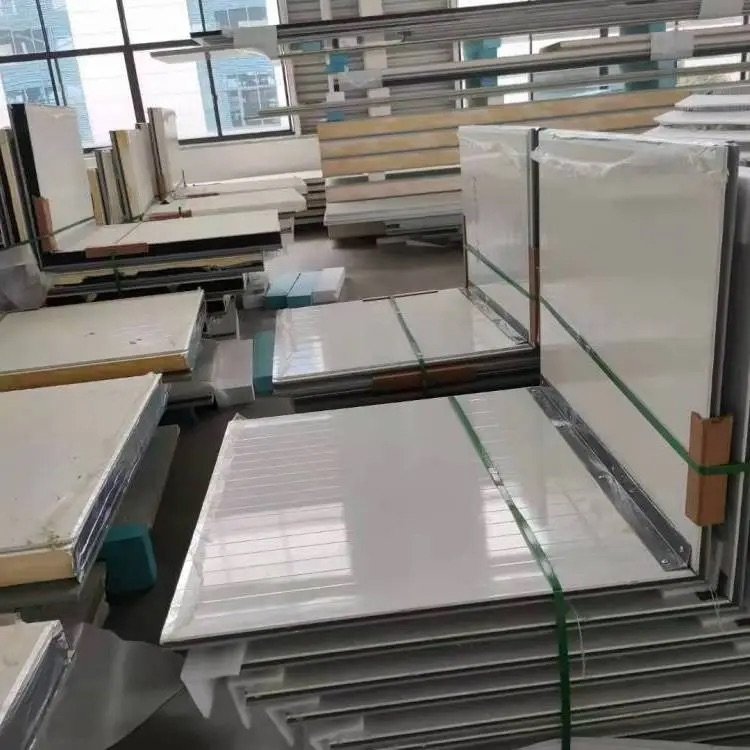
Getting the panels ready
After the roof is ready, prepare the panels. Check each panel for dents or scratches. Replace damaged ones to keep the roof strong. Clean the panels to remove dirt or dust.
Sort the panels by where they will go on the roof. This makes the job easier and reduces mistakes. Add sealants to the panel edges to stop leaks and improve insulation. Proper preparation helps the panels fit well and work efficiently, making the roof last longer and save energy.
Safety precautions to follow
Staying safe is very important when installing roof sandwich panels. Following safety rules helps prevent accidents and keeps everyone secure. Here are some simple steps to follow:
Wear the right safety gear: Always put on a hard hat, gloves, and shoes that don’t slip. Goggles protect your eyes from flying debris. Use a harness to stop falls when working high up.
Check your tools and equipment: Make sure all tools work well before starting. Broken tools can cause injuries or bad installation.
Keep the work area safe: Clear the roof of clutter to avoid tripping. Put up barriers or signs to keep others away from the site.
If hiring a contractor, check their safety record first. See if they follow OSHA rules and train their workers on safety. Ask for proof of insurance for accidents and injuries. Look at their OSHA Form 300A to see past safety issues. A contractor with an EMR below 1.0 shows they work safely.
Take your time when working on the roof. Place panels carefully and secure them tightly. Use ladders or scaffolding that meet safety rules. Don’t work in bad weather like rain or strong wind. Wet or windy conditions make accidents more likely.
Tip: Talk to your team often about safety rules. Clear communication and teamwork help avoid mistakes.
By following these steps, you make the job safer for everyone. Good safety habits protect you and help the project succeed.
Step-by-Step Roof Sandwich Panel Installation Process
Placing the first panel
Begin by placing the first roof sandwich panel carefully. This step is important for the whole process. Start at a roof corner and align it with the edge. Use a chalk line to keep the panel straight. A laser level can check if it’s aligned properly.
Handle the panel gently to avoid damage. If it’s too heavy, use a panel lifter to move it safely. Check the “Installation instructions for sandwich panel” guide for detailed steps. This guide explains how to handle and position panels correctly for stability.
Tip: Always check the panel’s position twice before securing it. A crooked first panel can ruin the entire setup.
Attaching the panel to the roof
After placing the first panel, attach it to the roof. Use fasteners and clips made for sandwich panels. Concealed-fastener clip systems are good because they allow for heat expansion. Drill the fasteners into the roof beams tightly.
Follow the “Installation instruction for sandwich panels – SPA – 02-2024″ for fastening tips. This guide shows the right tools and methods to use. Proper fastening keeps the panel steady against wind and rain.
Note: Don’t tighten fasteners too much. Over-tightening can harm the panel or reduce insulation.
Adding and connecting more panels
Once the first panel is secure, add the next one. Place it next to the first panel, making sure the edges fit perfectly. Use a mechanical seamer or hand crimper to lock them together. This step keeps the panels tight and gap-free.
For horizontal setups, check the “Product declaration for Ruukki sandwich panel SPA80-300.” For vertical setups, use the “Product declaration for Ruukki sandwich panel SPA80-230.” These guides explain how to install panels based on their orientation.
Keep adding panels across the roof, checking alignment often. Misaligned panels can weaken the roof and reduce insulation.
Reminder: Add sealant to the joints while connecting panels. This improves insulation and stops leaks.
Sealing joints and edges
Sealing the joints and edges keeps panels strong and dry. It stops water damage and helps the roof last longer. Make sure to create a tight air barrier outside the panels. This step is key for good insulation and saving energy.
Here are some easy sealing tips and tools:
Put PES sealing tape on the surface before adding panels. This tape protects the panel lining and makes the seal stronger.
Use strong sealers like SIGA Wigluv 100 (tape), Prosoco FastFlash (liquid), or ZIP System Liquid Flash (liquid). These keep air and water out for a long time.
Seal both the inside and outside seams of the panels. This double sealing gives extra protection from water and weather.
Clean the edges before sealing to remove dirt or dust. Press the sealing materials firmly to make them stick well. Good sealing helps the roof work better and last longer.
Vertical installation techniques
Vertical panel installation works well for steep roofs. Start at the bottom edge of the roof. Use a chalk line or laser level to place the first panel straight. Attach it with fasteners and clips made for sandwich panels.
Overlap the edges of each new panel to close gaps. Lock the panels together with a mechanical seamer or hand crimper. Add sealant to the joints as you go to stop leaks and improve insulation.
Keep adding panels upward until you reach the top of the roof. Check often to make sure they stay straight. Vertical installation is great for heavy rain areas because it drains water well.
Horizontal installation techniques
Horizontal installation is best for flat or low-slope roofs. Start by placing the first panel along the roof’s edge. Use a chalk line to keep it straight. Secure it with concealed-fastener clip systems that allow for heat expansion.
When adding the next panel, overlap the edges tightly. Lock them together with a mechanical seamer. Apply sealant to the joints to block air and water. Install panels row by row until you reach the other side of the roof.
Horizontal installation looks modern and neat. It also insulates well if done right. Always follow the maker’s instructions for the best results.
Maintenance Tips for Roof Sandwich Panels
Cleaning and checking regularly
Taking care of roof sandwich panels starts with cleaning and checking them often. Dirt and leaves can build up and cause rust or mold. Clean the panels to stop these problems. Use a soft brush or a gentle water spray to clean without scratching the surface.
Checking the panels is just as important. Look for dents, scratches, or faded areas during your checks. Finding these problems early keeps the panels strong and working well. Regular checks also help you spot rust or broken seals before they get worse. Fixing these issues quickly makes the panels last longer.
Tip: Make a plan to clean and check your panels every six months. This keeps them in good shape and working properly.
Finding and fixing damage
Damage to roof sandwich panels can make them less effective. Regular checks help you find cracks, loose screws, or broken seals. If you see any damage, fix it right away. Replace broken panels or cover exposed spots with protective coatings to stop further damage.
Sealing edges and joints is very important too. Water can get inside through open gaps and cause damage. Use good-quality sealants to close these spaces and keep the insulation working. Fixing damage not only protects the panels but also helps save energy.
Reminder: Always follow the maker’s repair instructions. This keeps the panels strong and safe after fixing.
Keeping panels safe from weather
Roof sandwich panels face tough weather like heat, sunlight, and rain. Protecting them from these things helps them last longer. Add protective coatings to shield the panels from sunlight and stop fading.
These panels also keep heat out, making them great for cold storage or bad weather areas. They block water from getting inside, keeping the structure safe.
Benefit | What It Does |
|---|---|
Thermal Resistance | |
Impermeability | Stops water from getting in, protecting the structure. |
UV Protection | Blocks harmful sunlight, keeping panels looking and working well. |
Strong Build | Helps panels stay strong and handle tough conditions. |
By following these steps, you can keep your panels safe and make sure they work well for a long time.
Common Mistakes During Roof Sandwich Panel Installation
Wrong measurements and alignment
Good measurements are key for installing roof sandwich panels. Small mistakes can cause panels to be crooked. This weakens the roof and lowers insulation. For example, if fasteners or ribs are not lined up, gaps can form. These gaps let water in and waste energy. Always check measurements twice. Use tools like a chalk line or laser level to get it right.
A study on panel installations shows common problems like costly fixes from bad cuts. Cutting panels wrong, especially horizontally, can make them weaker. Plan and measure carefully before cutting or placing panels to avoid these issues.
Using the wrong tools or materials
Using bad tools or materials can ruin your installation. For example, fasteners not made for sandwich panels can come loose or damage the panels. Cheap sealants might not stop water from leaking in.
Sandwich panels are heavy and need special tools like panel lifters. Without these, you could hurt yourself or damage the panels. Always use tools and materials the maker suggests. This ensures the roof is strong and lasts long.
Ignoring safety rules
Skipping safety steps can cause accidents and bad installation. Working on a roof without safety gear, like harnesses or non-slip shoes, is dangerous. A messy work area or broken tools can also lead to injuries or delays.
A report on metal cladding stresses that safety keeps the job high-quality. Following safety rules protects you and ensures the panels are installed properly. Always check your tools and clean the work area before starting.
Tip: Focus on safety and planning to avoid mistakes and finish the job well.
Skipping sealing and insulation
Skipping sealing and insulation can cause big problems. Sealing helps panels work well, keeping your building comfy and energy-saving. Without sealing, gaps and leaks may appear, making insulation weaker and raising energy bills.
Open gaps let air in or out, changing the building’s temperature. This makes heaters or air conditioners work harder, wasting energy and costing more money. Here’s why sealing and insulation matter:
Good sealing improves insulation, saving energy in your building.
Gaps without sealing make insulation weaker, using more energy.
Air sealing is extra important for older buildings with more leaks.
If you skip sealing, water can get into the panels. Over time, this can cause rust, mold, or damage to the structure. These problems make the roof weaker and shorten its life. Fixing or replacing it later can cost more than sealing it right the first time.
To stop these issues, always use strong sealants. Apply them carefully to all edges and joints. After installing, check for gaps and seal them right away. Adding insulation foam can also make the panels block heat better, keeping the building cozy in any weather.
Tip: Check the roof often for leaks or damage. Finding problems early keeps panels working well and avoids expensive fixes.
By focusing on sealing and insulation, your roof panels will work as they should. This saves energy and protects your investment over time.
Installing roof sandwich panels the right way makes them last longer. These panels can handle bad weather, keep heat out, and resist fire. By using this guide, you’ll have a strong, energy-saving roof for many years. Checking and fixing them often keeps them working well and saves money over time.
Remember: A properly installed roof lowers energy use and boosts your building’s value. Doing it carefully now means enjoying benefits for years.
FAQ
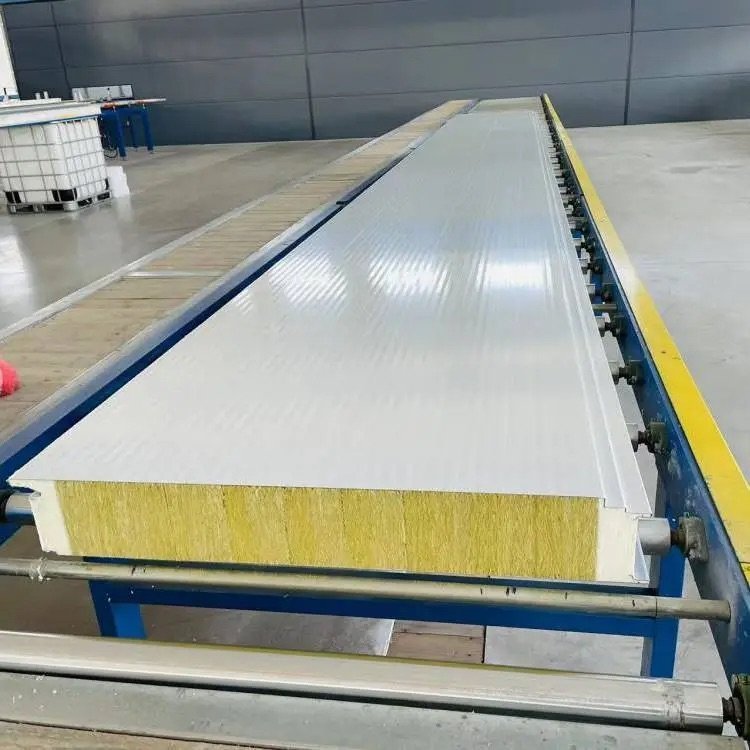
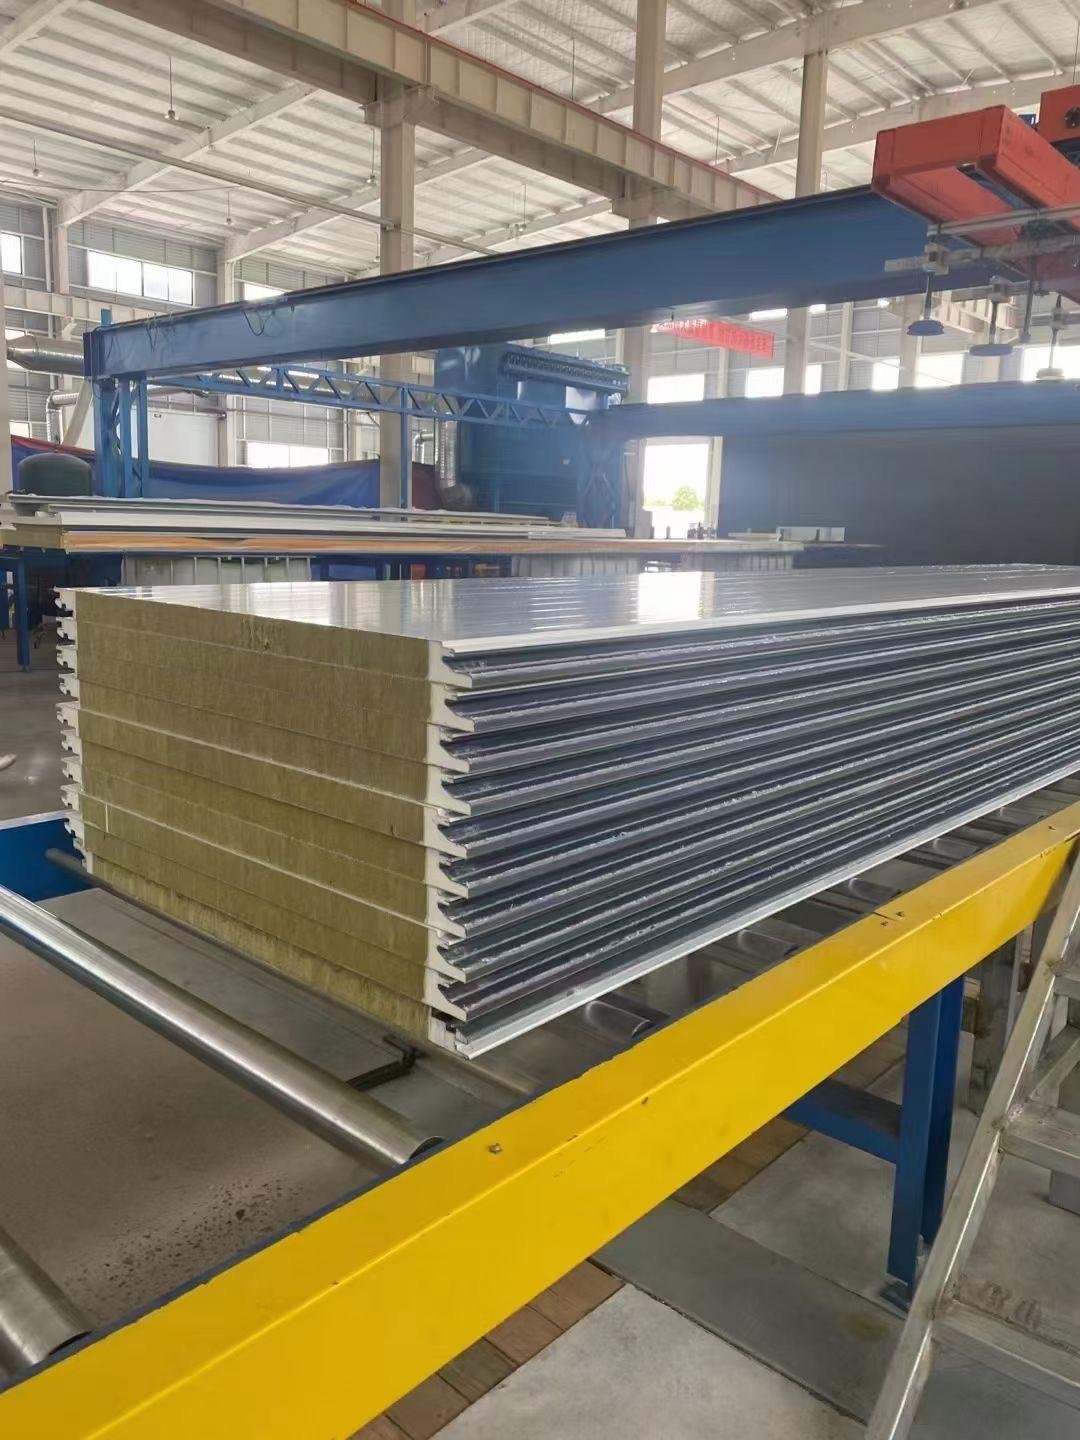
What are roof sandwich panels made of?
Roof sandwich panels have two metal outer layers and an insulating core. The core is made from materials like polyurethane, polystyrene, or mineral wool. These parts work together to make the panels strong, insulated, and long-lasting.
How long do roof sandwich panels last?
If installed and cared for properly, roof sandwich panels can last 30–50 years. Cleaning them regularly, checking for damage, and fixing issues quickly help them stay efficient and durable.
Can you install roof sandwich panels yourself?
Yes, you can install them if you use the right tools and follow safety rules. But hiring a professional ensures they are aligned, sealed, and meet building codes correctly.
Are roof sandwich panels energy-efficient?
Yes! These panels insulate well, cutting down heat transfer and saving energy. Their U-factor and SHGC values help keep indoor spaces comfortable in any weather.
How do you clean roof sandwich panels?
Use a soft brush or gentle water spray to clean off dirt. Don’t use harsh chemicals or rough tools that might scratch the surface. Cleaning every six months keeps them in good shape.
Tip: Check for damage while cleaning to fix problems early.