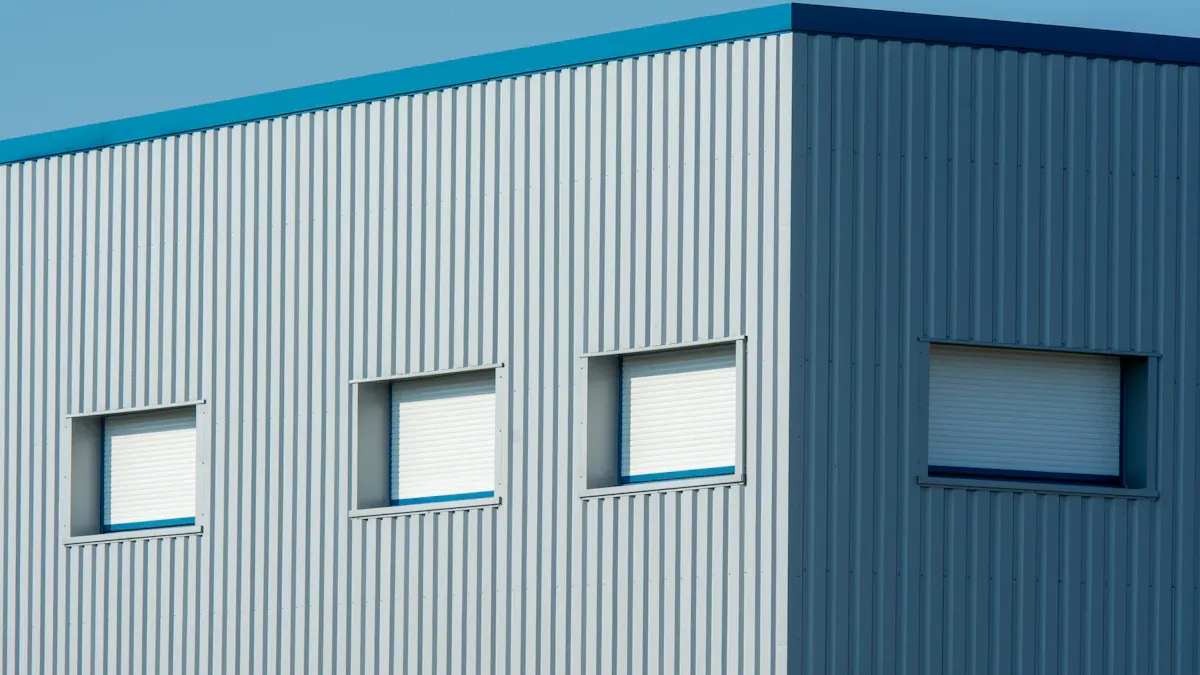
Rockwool sandwich panels are a smart choice for building today, especially when you choose to install Rockwool sandwich panels. These panels feature a strong Rockwool core and tough outer layers, making them ideal for walls and roofs. Why do people like them so much? They effectively keep heat in or out, which helps save energy and money. Additionally, they are very strong and have a long lifespan. With a low heat transfer of 0.043 W/mK, they comply with eco-friendly building regulations. Whether for a house or business, installing Rockwool sandwich panels is a great way to save energy and promote sustainability.
Key Takeaways
Rockwool sandwich panels keep spaces cozy and save energy.
Get tools like a tape measure, drill, and safety gear first.
Clean the area and remove obstacles for a good panel fit.
Seal joints well to stop air and water from leaking.
Check panels often to fix problems and keep them working well.

Tools and Materials Needed
Getting ready to install Rockwool sandwich panels? You’ll need the right tools and supplies. This section explains what you’ll need to begin.
Tools You’ll Need
Make installation easier by gathering these tools:
Measuring Tape: Helps you measure panels for correct placement.
Drill and Screws: Stainless steel screws work best for outdoor areas.
U-Shaped Hook or Vacuum Suction: Safely lift and move panels into place.
Crane with Lifting Clamps: Use a crane for heavy panels to avoid injury.
Rubber Shoes: Protect panels from scratches while walking on them.
Screwdriver and Saddle Caps: Tighten screws and cover them for protection.
Take off the protective film before installing. This keeps the panels looking neat.
Materials for Walls and Roofs
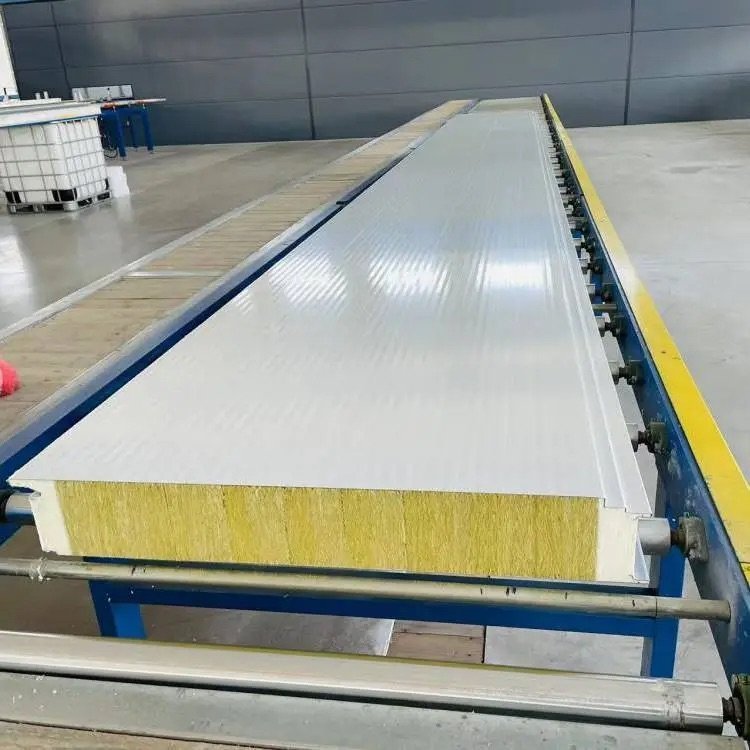
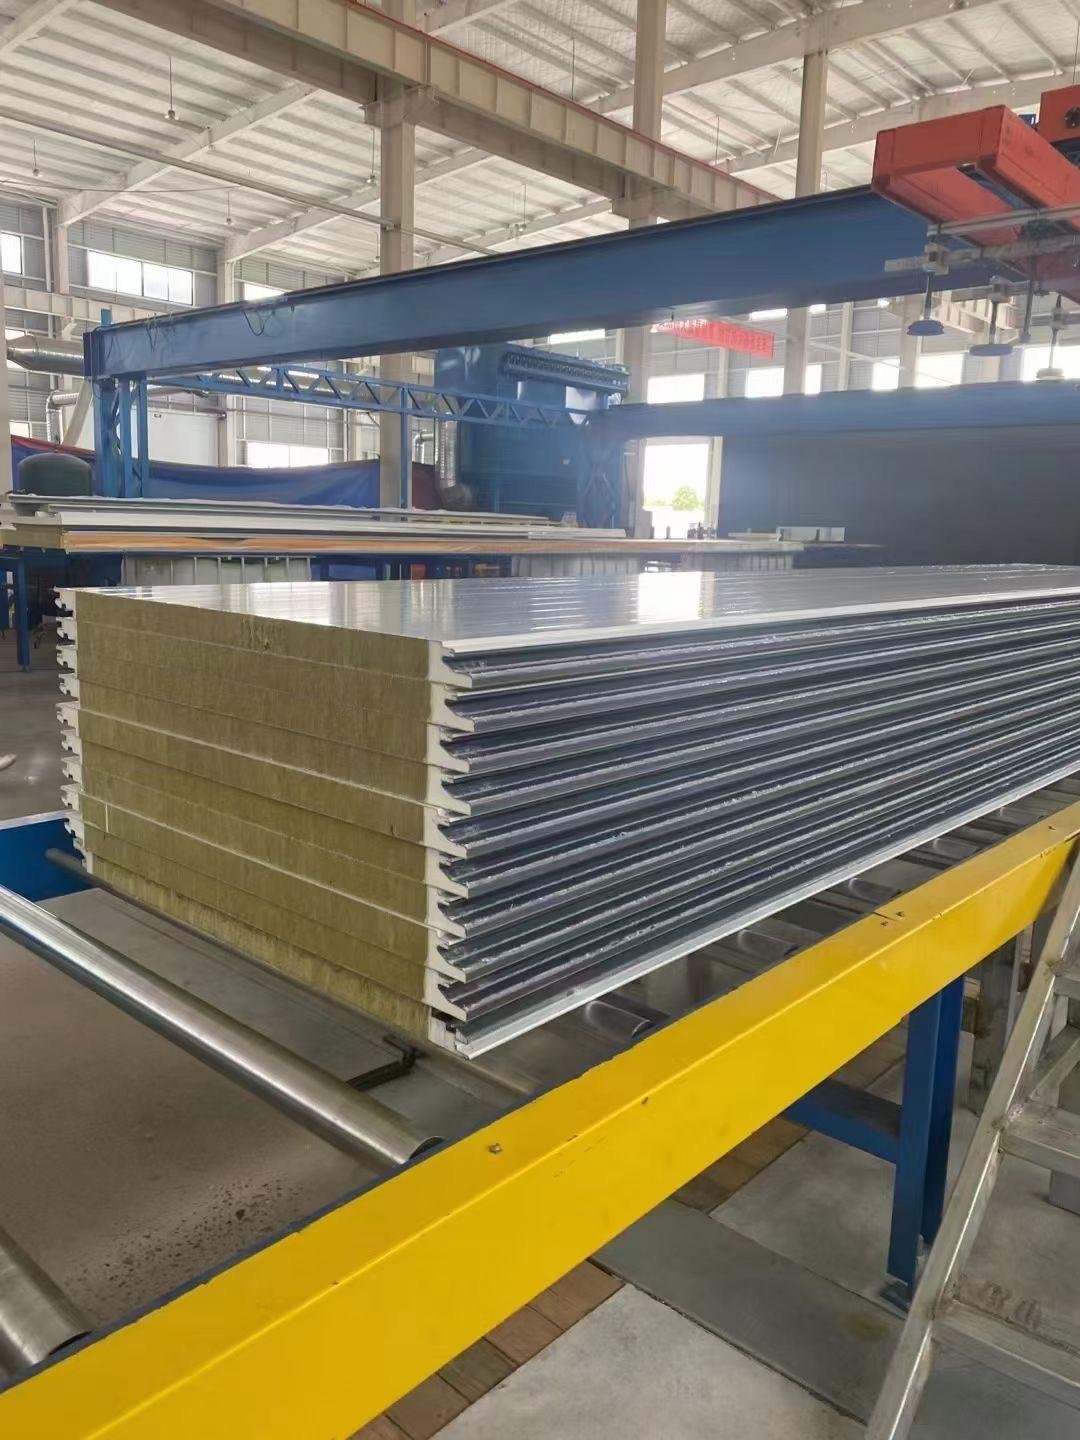
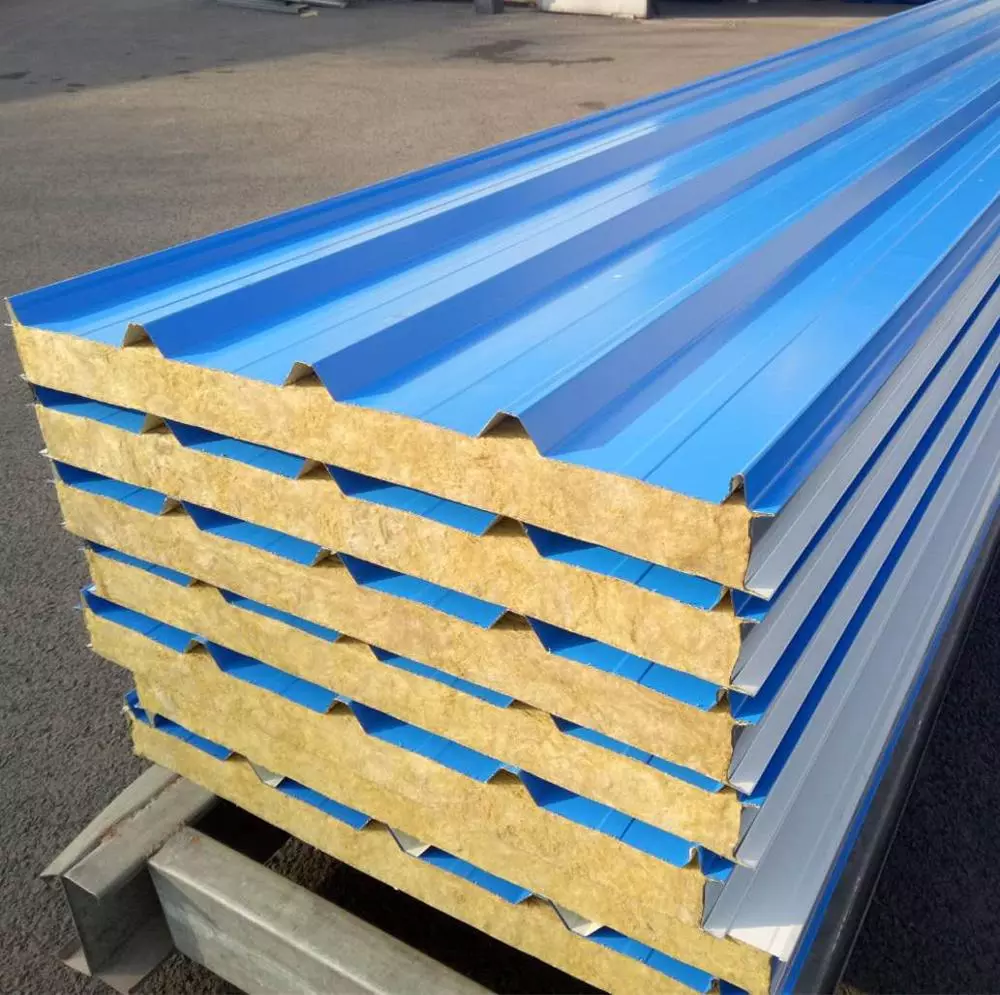
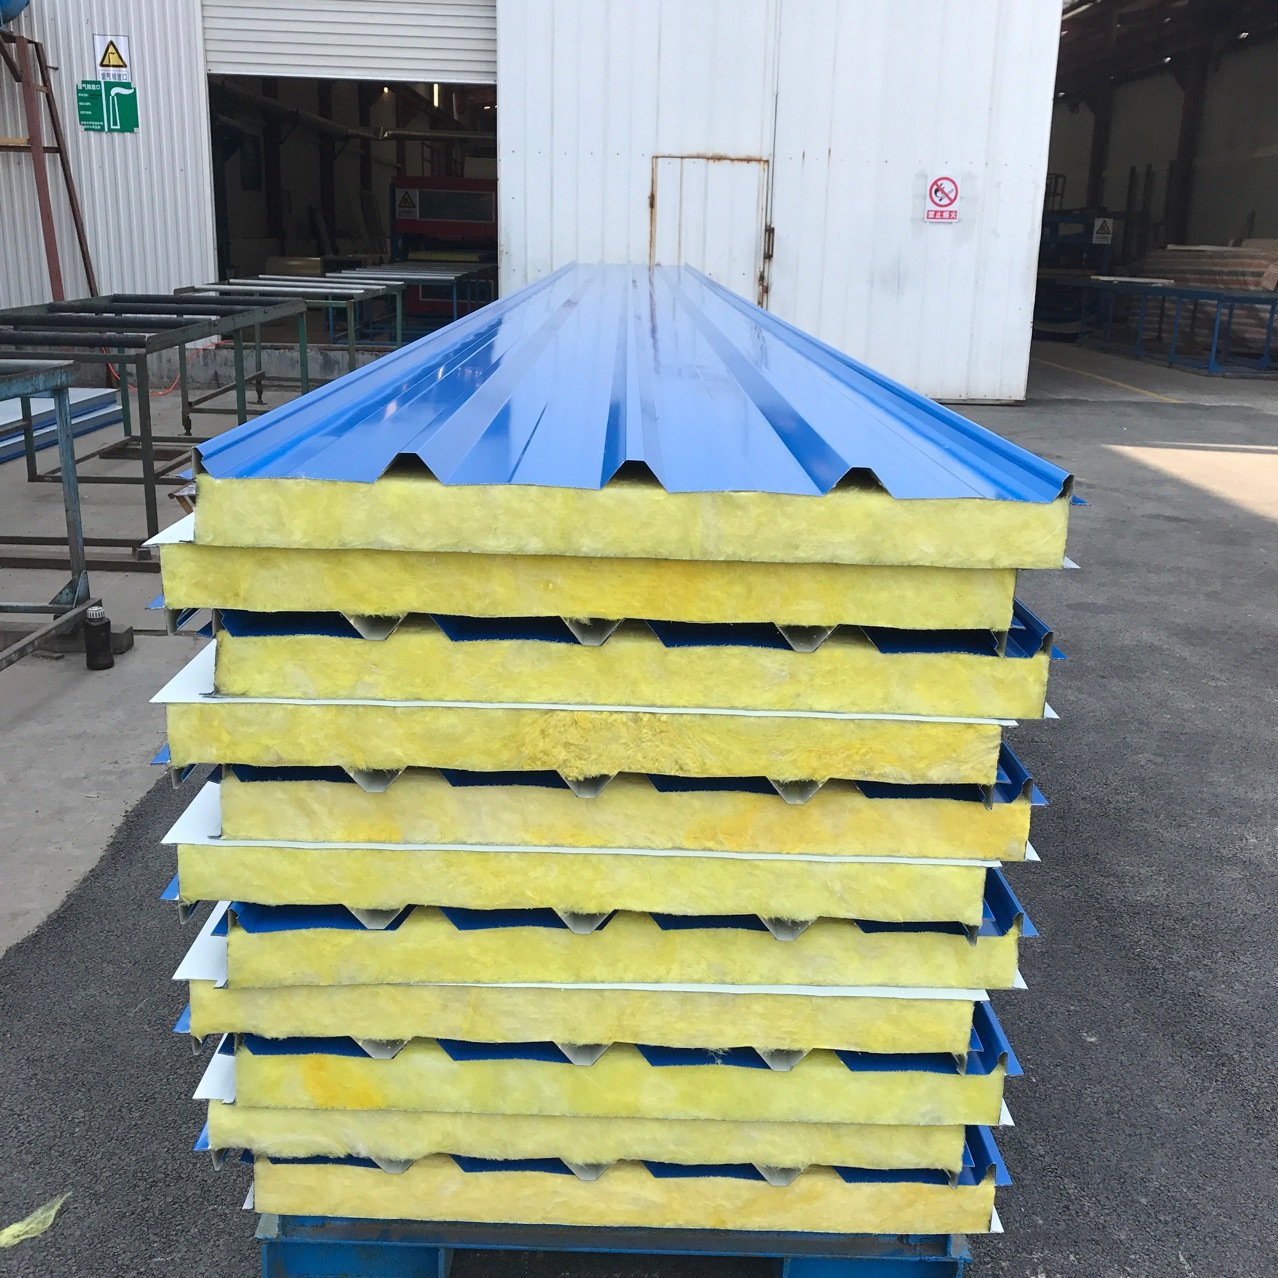
Rockwool sandwich panels have three layers: two metal sheets and a strong Rockwool core. Here’s what they offer:
Specification | Value |
|---|---|
Panel Thickness | 50mm, 75mm, 100mm |
Thermal Conductivity | 0.043 W/mK |
Acoustic Insulation | 27 dB |
Fire Resistance | Non-flammable |
These panels keep heat and sound out. They don’t burn and stay strong in high heat. They also absorb little water, making them last longer.
Safety Gear You’ll Need
Safety is very important when installing panels. You’ll be working high up, so wear the right gear:
Harnesses and Safety Lines: Attach these to secure points to avoid falling.
Hard Hats and Gloves: Protect your head and hands from harm.
Non-Slip Shoes: Keep steady while walking on roof panels.
Pro Tip: Plan safety steps before starting. Set up anchor points, choose safe paths, and hold safety meetings to keep everyone safe.
With the right tools, materials, and safety gear, your installation will go smoothly and safely.
Pre-Installation Preparation
Before installing Rockwool sandwich panels, plan carefully. Good preparation makes the job easier and safer.
Checking the Site and Measuring
First, check the site completely. Look for uneven spots, trash, or anything blocking the work. Use a measuring tape to measure walls and roofs exactly. This helps you know how many panels you need and ensures they fit well. Measure again to avoid mistakes or wasting materials. If working on a roof, ensure it’s strong enough to hold the panels.
Getting the Surface Ready
The surface must be clean and even. Remove dirt, dust, or old materials from walls or roofs. Walls should be smooth without cracks. On roofs, fix loose screws or damaged areas. If the surface isn’t ready, panels won’t fit right, and insulation might not work well. Preparing now avoids problems later.
Staying Safe
Safety is very important. Use anchor points and safety lines when working high up. Wear a hard hat, gloves, and shoes that don’t slip. Research from NAIMA shows safe practices are key in insulation work. Following safety rules keeps you safe and helps finish the job well. Don’t skip safety checks or ignore dangers. A safe site helps everyone.
Tip: Keep a first-aid kit nearby and tell everyone where it is.
By checking the site, cleaning the surface, and focusing on safety, you’ll be ready for a smooth installation.
How to Install Rockwool Sandwich Panels for Walls
Marking and Measuring the Wall
Before starting, measure the wall carefully. This ensures panels fit well and reduces waste. Use a measuring tape to check the wall’s height and width. Mark where each panel will go using chalk or a pencil.
Here’s a simple tool guide for this step:
Tool | Purpose | Usage |
|---|---|---|
Measuring Tape | Helps measure spaces for proper panel fit. | Use with a pencil to mark accurate cutting lines. |
Marking Tools | Makes visible marks for cutting panels. | Guides cutting for a perfect panel fit. |
Tip: Always double-check your measurements. It avoids mistakes later.
Aligning and Placing the First Panel
After marking, start placing the first panel. Begin at one corner of the wall. Align the panel with the marked lines. Use a spirit level to ensure it’s straight. The first panel is important as it guides the rest.
Make sure the wall is clean and dry before attaching. Apply adhesive to the back of the panel. Press it firmly onto the wall to secure it. This prevents gaps that could reduce insulation.
Pro Tip: Use a U-shaped hook or vacuum suction for tall panels.
Fixing Panels with Fasteners
Once the panel is in place, secure it with fasteners. Use special plastic bolts made for wall insulation. These bolts hold the panels tightly. Place screws along the edges and center of the panel. This keeps it stable and secure.
Don’t overtighten screws, as it may damage the panel. Cover screws with saddle caps for extra protection. Repeat these steps for all panels, ensuring they are aligned and secure.
Reminder: Proper placement and fastening ensure strong and effective insulation.
By following these steps, your Rockwool sandwich panels will provide great insulation and support for your walls.
Sealing Joints for Insulation
Sealing panel joints is very important for good insulation. Skipping this step can cause air leaks, water issues, or poor heat control. Here’s how to seal joints the right way:
Clean Panel Edges: Wipe panel edges clean before sealing. Dust or dirt can stop the seal from sticking. Use a soft brush or dry cloth to clean them.
Add Sealing Tape: Stick sealing tape on wall panel joints. Make sure it’s straight and covers the whole joint. This blocks air and water from getting through.
Use Distance Strips: Place a strip under panels to stop water leaks. This is very helpful for outdoor areas with rain or moisture.
Double Sealing: Add two rows of sealing tape in overlap areas. This gives extra protection and fills any small gaps.
Don’t Over-Screw: For roof panels, don’t screw covers too tightly. Over-screwing can make gaps that let water in. Lay panels from bottom to top for better alignment.
Tip: Be careful with end joints. These spots are more likely to leak and need extra attention.
By sealing joints properly, your panels will insulate better and last longer. Good sealing saves energy and keeps your installation strong.

How to Install Rockwool Sandwich Panels for Roofs
Getting the Roof Ready
Before adding panels, prepare the roof structure. This step ensures panels stay secure and work well. First, check if the roof meets the needed R-value. This helps with insulation and stops condensation. Adding an air barrier is also important. It boosts insulation and keeps moisture away.
For light steel roofs, there are often many layers. Each layer helps with heat, sound, and water protection. Make sure beams, posts, and purlins are set up correctly. This gives a strong base for the panels. Once ready, peel off the protective film from the panels. This stops dirt from getting trapped underneath.
Tip: Always check the roof structure for strength before continuing.
Placing and Aligning Panels
Next, place and align the panels. Carefully unload materials using proper equipment. Start at the bottom edge of the roof. Line up the first panel with the roof’s edge for a straight start. Use a spirit level to make sure it’s even.
Move up the roof, overlapping panels slightly for a tight seal. This overlap stops water from leaking through. Keep checking alignment as you work. Misaligned panels can leave gaps and reduce insulation.
Pro Tip: Use a crane with clamps for heavy panels. It’s safer and quicker.
Attaching Panels with Screws
Attaching panels correctly is very important for a strong roof. Use screws and washers made for mineral wool panels. Large plastic washers are best as they lower heat transfer. Place screws along the edges and middle of each panel. This keeps them steady and in place.
For extra support, use impaling pins with fasteners. These add strength and protect the air barrier. Don’t tighten screws too much, as it can harm the panels or cause gaps. After securing all panels, seal the joints and add flashing to block water and air leaks.
Reminder: Good fasteners improve the roof’s insulation and strength. Always choose high-quality ones.
Sealing for Weatherproofing
Sealing roof panels well keeps your building safe from weather. Without sealing, water, air, or pests can get inside. This can cause damage and lower insulation performance. Here’s how to seal Rockwool sandwich panels for the best protection.
Clean Panel Edges First
Make sure panel edges are clean and dry before sealing. Dirt or moisture can stop the seal from sticking. Use a soft brush or cloth to wipe the edges. This step helps the sealant work better.
Use Strong Sealants
Pick a weatherproof sealant made for roof panels. Silicone or polyurethane sealants are good choices. They are strong and flexible. Apply sealant along the joints where panels meet. Use a caulking gun to spread it evenly. Work slowly to cover all areas properly.
Overlap Panels Slightly
When placing panels, overlap them a little. This helps block water from getting through. Experts like John Straube suggest this method for stopping moisture. It works well on flat roofs where water might collect.
Add Flashing for More Protection
Put metal flashing on roof edges and corners. Flashing moves water away from weak spots to stop leaks. It’s a small step that greatly improves weatherproofing.
Tip: Check your work often. Look for gaps or uneven sealant. Fixing these right away avoids bigger issues later.
By sealing carefully, your roof will stay weatherproof and strong. Your Rockwool panels will last longer and handle tough weather better.
Common Questions About Sandwich Panels
How to Keep Panels Aligned
Getting panels straight is very important for good installation. Crooked panels can cause gaps, bad insulation, or even damage. To keep them aligned, draw clear lines on the surface first. Use a measuring tape and a level to check your lines twice.
When placing the first panel, go slowly. This panel guides the rest. Match it carefully to the lines and secure it well. As you add more panels, check their positions often. Even a small mistake can mess up the whole row.
Tip: Use clamps or temporary holders to keep panels steady while adjusting. This makes alignment easier and more accurate.
Stopping Air Leaks
Air leaks can make your insulation less effective. To stop them, seal all edges and joints well. Start by cleaning the panel edges. Dirt or dust can stop the seal from sticking properly.
Apply strong sealing tape or weatherproof sealant to the joints. Overlap panels a little to create a tight seal. Pay extra attention to corners and ends, as these spots leak more easily.
Pro Tip: For outdoor areas, use double sealing. It gives better protection from air and water leaks.
Check your work as you go. Look for gaps or uneven seals and fix them right away. A well-sealed job keeps your building warm and energy-efficient.
Caring for Your Panels
Taking care of your panels helps them last longer and work better. Check them often for problems like cracks, loose screws, or broken seals.
Wash the panels with mild soap and water to remove dirt. Don’t use strong chemicals that might harm the surface. For roof panels, clear off leaves or branches that could block water drainage.
Reminder: Fix broken seals or screws quickly. Small problems can turn into big ones if ignored.
With regular care, your panels can last many years. They’ll keep insulating well and protect your building from bad weather.
Installing Rockwool sandwich panels the right way is very important. When done properly, you’ll get these benefits:
Great insulation for heat and sound, keeping your space cozy all year.
Strong durability that handles temperature and moisture changes, lasting longer.
Energy savings from steady insulation, cutting heating and cooling bills.
Remember: These panels are made to be strong with high compression and tension strength. Correct installation keeps them secure and working well.
By following this guide, you’ll build a structure that saves energy, stays strong, and lasts a long time. Rockwool sandwich panels are not just smart—they’re a wise investment for your building’s future.
FAQ
How can I cut Rockwool sandwich panels for smaller areas?
Use a fine-toothed saw or a circular saw with a metal blade. First, measure the panel carefully and mark the cutting line with chalk. Cut slowly to keep the edges smooth. Always wear gloves and goggles to stay safe.
Tip: Check your measurements twice before cutting to avoid errors.
Can I install Rockwool panels when it’s raining?
It’s better to wait for dry weather to install panels. Rain can affect how the adhesive and seals work. If you must work in rain, cover the panels and workspace with waterproof tarps.
Reminder: Wet panels might not insulate as well over time.
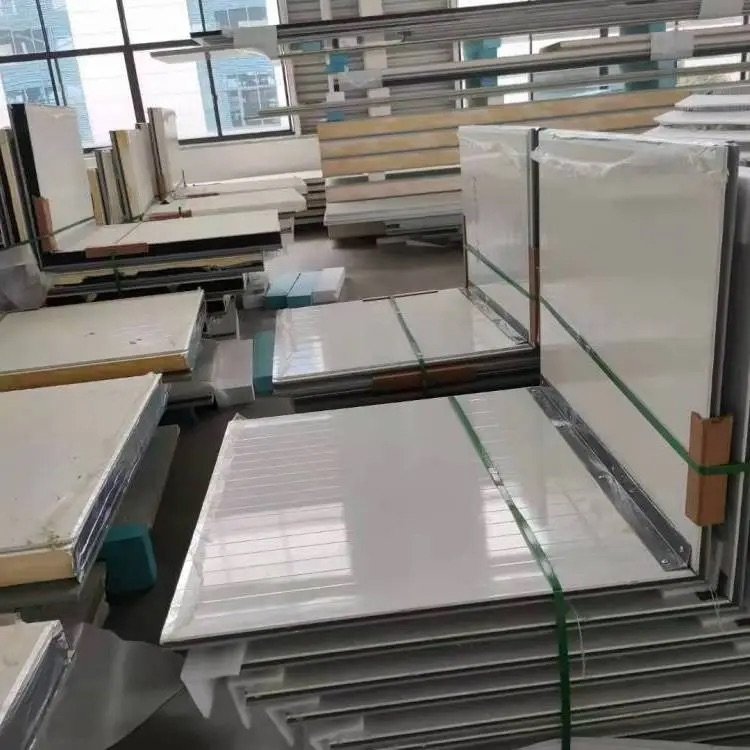
How should I store Rockwool panels before using them?
Keep panels in a dry, covered place away from sunlight. Lay them flat on a clean surface to stop bending. Leave them in their packaging until you’re ready to install.
Pro Tip: Use pallets to lift panels off the ground and avoid moisture damage.
What should I do if a panel becomes loose after installing?
Take out the screws and adjust the panel. Tighten the screws evenly, but don’t overtighten. Check the seals and add sealing tape if needed. This keeps the panel secure and insulated.
Note: Check panels often to find and fix loose ones early.
Are Rockwool sandwich panels good for the environment?
Yes! Rockwool panels are made from natural stone wool, which is recyclable and sustainable. They also save energy by lowering heating and cooling needs, making them eco-friendly for buildings.
Fun Fact: Rockwool doesn’t burn or release harmful gases when heated. 🌱