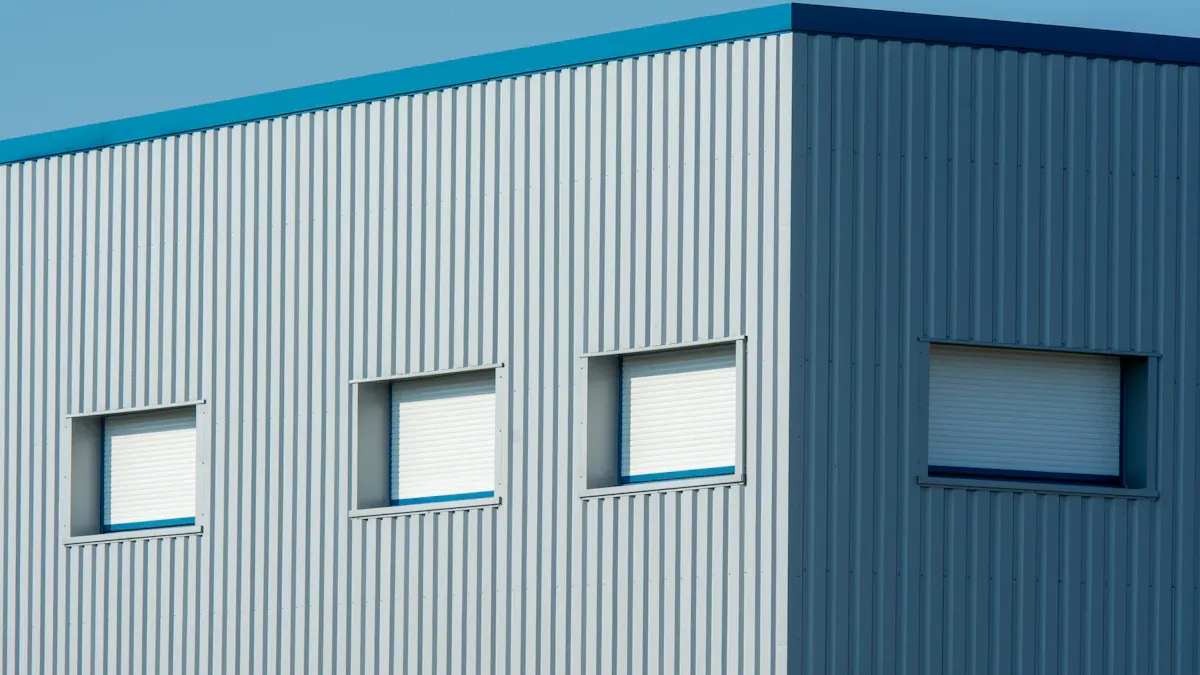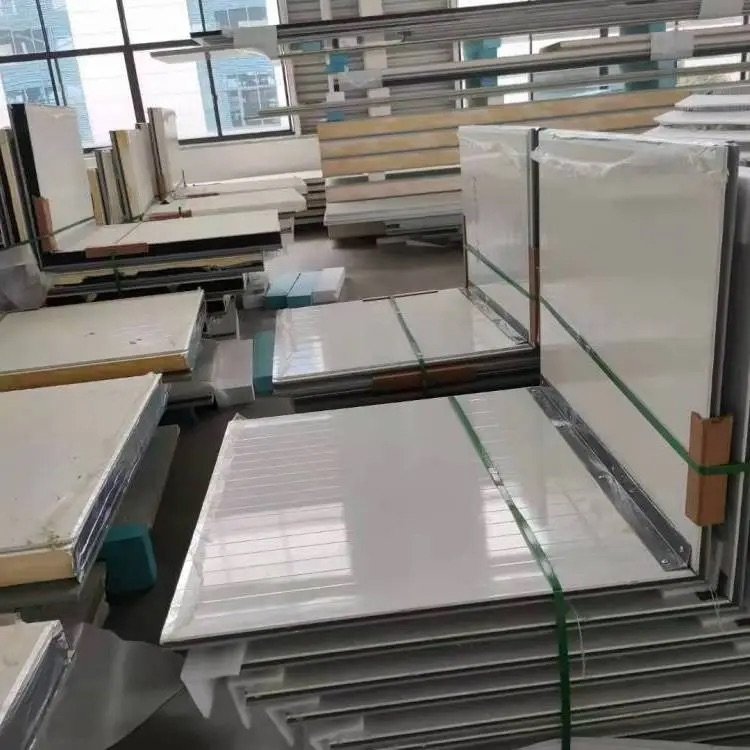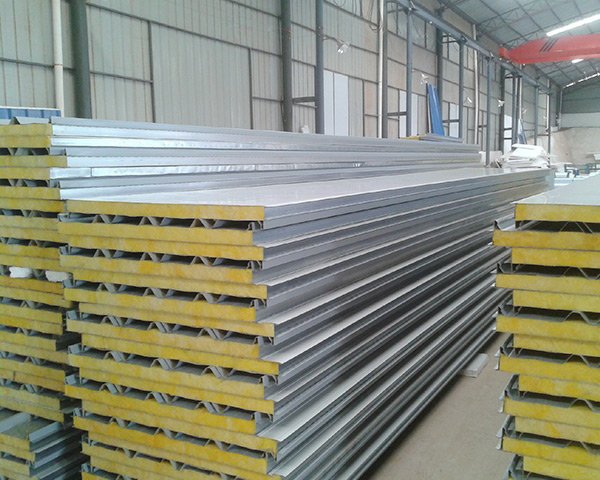
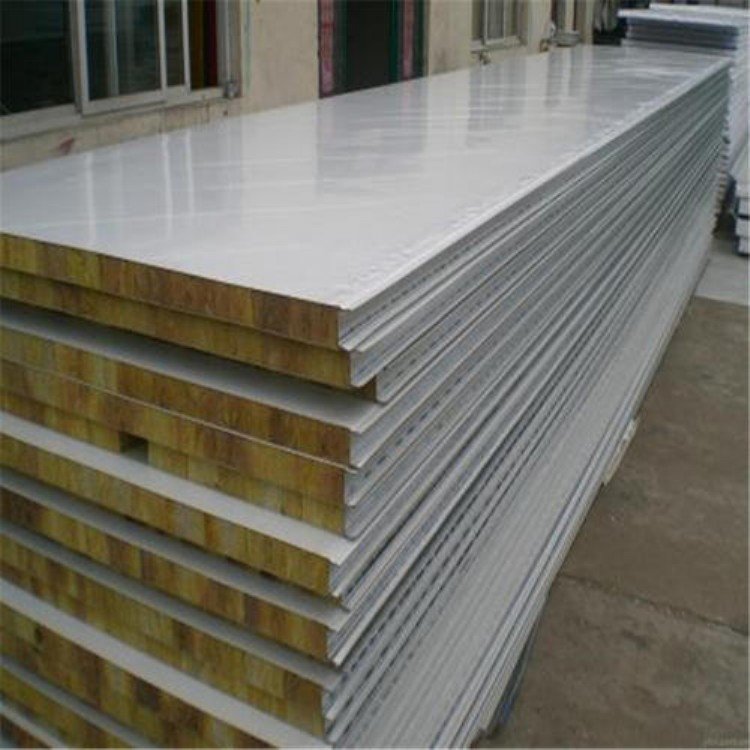
Installing EPS sandwich panels the right way makes them last longer. These pre-made panels not only make building faster and easier but also ensure that when you install EPS sandwich panels properly, you reduce mistakes and improve their efficiency in keeping heat in or out. Following a step-by-step process helps you work carefully and easily. Aligning them correctly gives a smooth look and enhances their performance. Staying safe while you install EPS sandwich panels protects the building and keeps it strong for a long time.
Key Takeaways
Get the surface ready before starting. Clean it well and make it smooth so the EPS panels stick properly and work better.
Make a strong frame with tough materials. Pick things like SIPs or HPEPC for strong support that follows building rules.
Line up and attach the EPS panels carefully. Use screws and glue to keep them tight, leaving no gaps for better insulation and saving energy.
Close all joints and gaps tightly. This stops air and water from leaking, making the panels work better.
Add more insulation if the weather is very hot or cold. This saves energy and keeps the inside comfy.
Getting the Surface Ready for EPS Panels
Getting the surface ready is important for installing EPS panels. A good base helps the panels stick well and work properly. Follow these steps to prepare the surface.
Cleaning and Smoothing the Base
First, clean the surface completely. Get rid of dirt, dust, or grease that might stop the panels from sticking. Use a broom or vacuum to remove loose dirt. For tough spots, use mild soap and scrub gently. Rinse with clean water and let it dry fully.
After cleaning, check for uneven spots. Use a leveling tool to find bumps or dips. Fill low areas with leveling compound and sand down high spots. A flat surface helps the panels fit well and stay steady.
Tip: Wear gloves and goggles while working to stay safe.
Marking Spots for Proper Placement
Marking spots correctly helps you place the EPS panels right. Measure the area where the panels will go. Use a tape measure and pencil to mark the spots. Make sure the marks are straight and spaced evenly.
For big areas, use a chalk line to draw straight lines. This tool helps you stay accurate over long distances. Check your measurements twice to avoid mistakes during installation.
Note: Preparing the site well and marking carefully saves time and avoids errors later.
Building the Frame for EPS Panels
A strong frame is key to holding EPS panels well. Follow these steps to make sure the frame is sturdy and accurate.
Picking Strong Materials
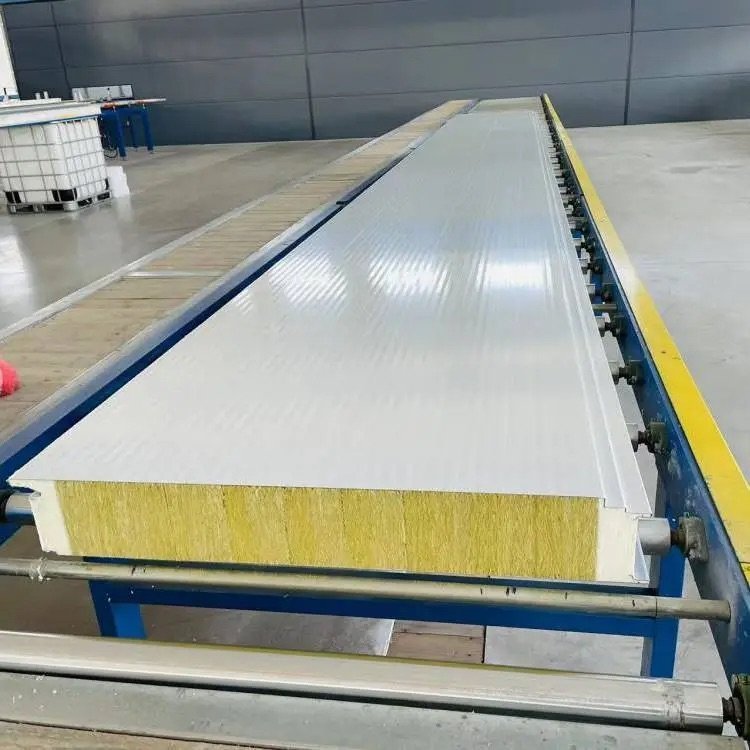
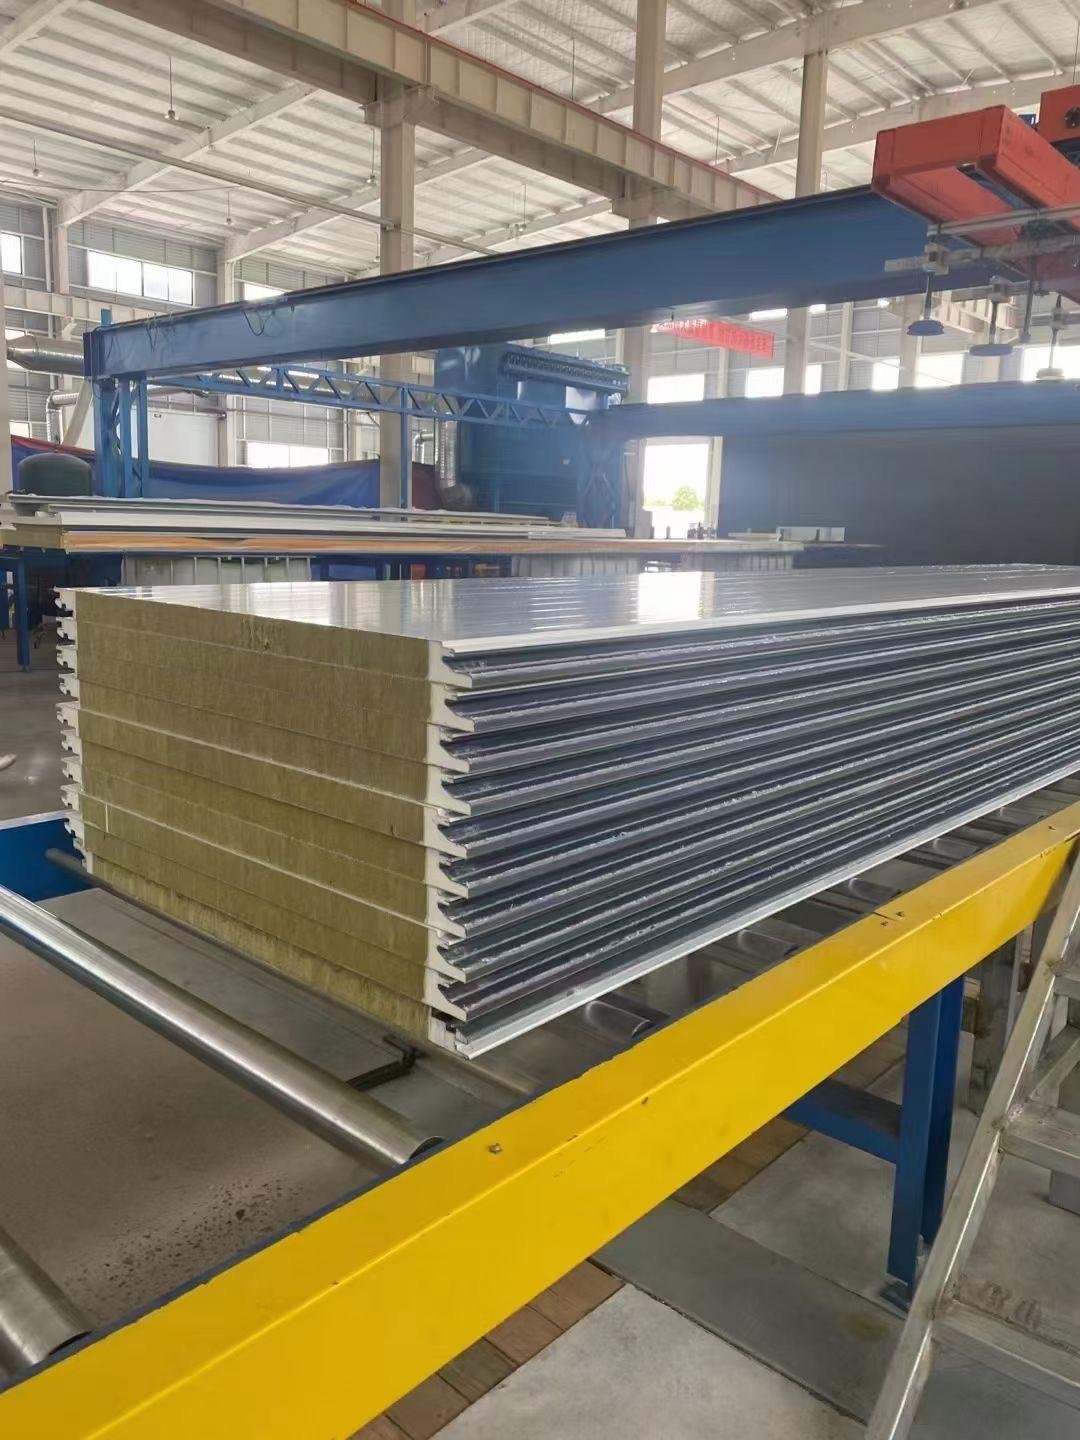
Pick materials that last long and handle weather changes. SIPs are a great option because they are tough. For instance, a 6.5-inch SIP bends only 0.27 to 0.50 inches, meeting ASTM D6815 rules. SIPs can last over 60 years, and some buildings even reach 90 years. On the other hand, wood frames may last only 25 to 50 years due to rot or pests.
Think about compressive strength when choosing materials. High-Performance EPS Concrete (HPEPC) is eight times stronger than EPS mortar. Using EPS beads sized 3-5 mm improves strength. HPEPC with 40% EPS bulk ratio meets building standards, making it a solid choice for your frame.
Tip: Check if materials meet local building codes for safety and durability.
Measuring and Cutting the Frame
Good measurements are important for a perfect frame. Use a tape measure to find the size of the area. Mark the size clearly on the material to avoid mistakes. Use tools like circular saws or table saws for clean cuts.
Focus on these cutting tips:
Accuracy: Make sure cuts match the needed size.
Repeatability: Keep all cuts the same size.
Cutting Quality: Smooth edges stop gaps or misfits.
Test your tools on scrap pieces before cutting the real materials.
Securing the Frame Firmly
After cutting, put the frame together tightly. Use screws or nails to hold the joints firmly. Add construction glue along the edges for extra strength. Check for any shaking or uneven parts. A steady frame helps the EPS panels fit well and work better.
Note: A strong frame reduces gaps, making the panels more energy-efficient.
Step-by-Step Installation Process for EPS Panels

Positioning and Aligning Panels
Placing panels correctly is key to a good installation. Start by setting the first EPS panel against the wall carefully. Use a spirit level to check if it’s straight. Adjust it until it matches the marked lines. For bigger spaces, use chalk lines or laser levels to keep everything straight.
To do it right:
Push panels close together to avoid gaps.
Use the right fasteners for a secure fit.
Check each panel to ensure it’s aligned and tight.
Tip: Spend extra time on the first panel. It makes the rest easier.
Securing Panels with Screws and Adhesives
Holding panels firmly is important for strength and safety. Use special adhesives made for EPS panels to stick them well. Spread the adhesive evenly on the edges and contact points. After placing the panel, add screws to hold it tightly. This mix of screws and glue keeps panels strong against pressure or impacts.
This method is very strong. Adhesive bonds can hold over 400 times the weight of drywall. This makes EPS panels reliable, even during earthquakes or heavy loads.
Note: Follow the maker’s instructions for glue and screw placement for the best results.
Minimizing Gaps for Thermal Efficiency
Gaps between panels reduce insulation and waste energy. A small 1/4-inch gap in a 3 1/3-inch panel lowers R-value by 9%. A 1/2-inch gap can cut it by 13.5%. To stop this, make sure panels fit tightly. Use foam or sealant to fill small gaps.
Straight gaps lose more heat than staggered ones. Aim for a tight, seamless fit. This improves insulation and saves energy for the building.
Reminder: No gaps mean better insulation and a cleaner look for the panels.
Cutting and Trimming EPS Panels

Cutting EPS panels properly helps them fit and work better. Using the right tools makes cutting easier and faster.
Tools for Accurate Cutting
Picking the right tools is important for neat cuts. Different tools work better based on the panel’s thickness. Here are some good options:
A sharp drywall knife is good for small cuts but may leave rough edges.
The marshalltown “Bullet” blade for saws cuts quickly and cleanly.
A hot wire blade removes foam dust, keeping the area clean.
For thick panels, a track saw rail with a 25mm Olfa Knife works best.
A metal or concrete blade in a saw gives the smoothest cuts.
Tip: Test your tools on scrap pieces first. This helps you cut precisely.
Steps for Custom Fitting Panels
Fitting EPS panels perfectly takes careful planning. First, measure the area where the panel will go. Mark cutting lines on the panel with a pencil. Use a ruler or straight edge to guide your tool for straight cuts.
For curved shapes, trace the outline onto the panel using a template. Cut slowly to avoid breaking the material. If edges are rough, sand them lightly for a smooth finish.
When trimming around pipes or beams, use a utility knife for small changes. For bigger sections, use a jigsaw or hot wire cutter. Always check the fit before attaching the panel.
Reminder: Take your time. A good fit improves insulation and saves energy.
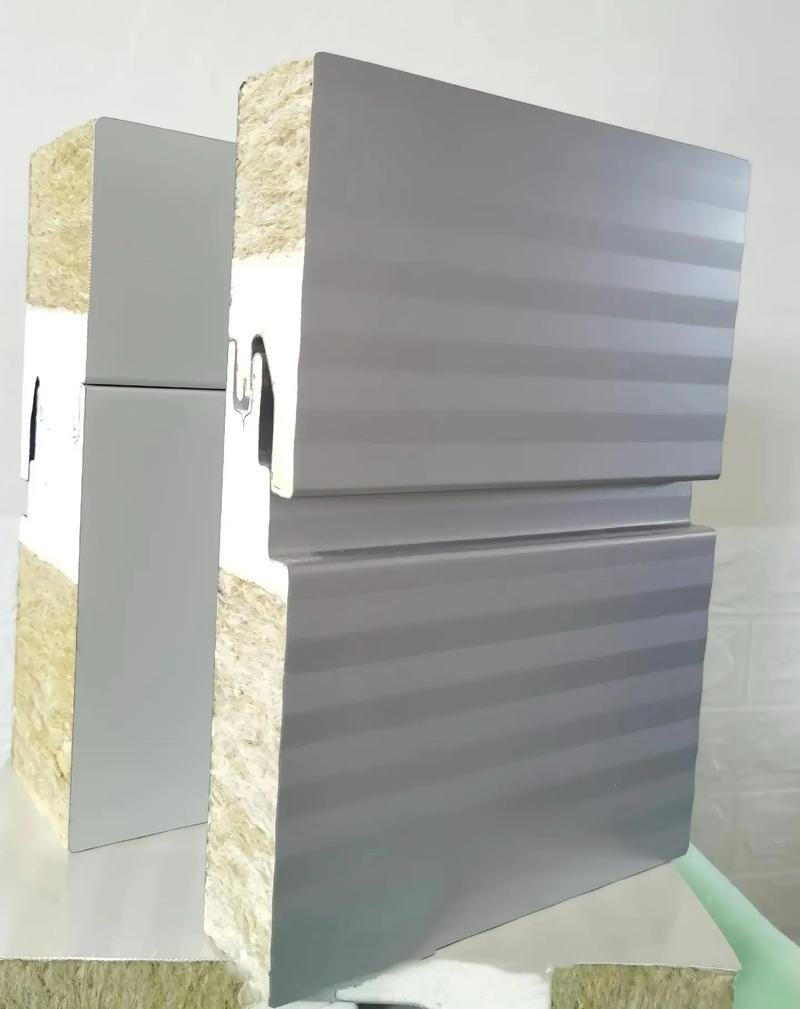
Sealing Joints and Keeping Airtightness
Sealing joints and gaps well is very important. It helps your EPS panel installation last longer and work better. This step stops air and water from getting in and improves insulation.
Using Sealants to Stop Leaks
Sealing gaps keeps air and water out. Use good sealants like spray foam or gaskets to fill spaces between panels. These sealants expand to block air and moisture. When using spray foam, check for overflow at the edges. Overflow means the seal is complete.
In cold areas, add extra protection like tape or more gaskets. This second layer helps keep the building warm even in harsh weather.
Important things to know:
Foam should cover gaps fully.
Panel connections are common spots for leaks.
Tip: Apply foam on both sides of panels. Even tiny leaks can ruin the seal.
Improving Insulation with Good Sealing
Sealing gaps not only stops leaks but also boosts insulation. A sealed structure blocks air, vapor, and heat loss, saving energy and making it cozier.
Tests show sealed panels resist air and water pressure well. For example:
Module | Description | |
|---|---|---|
1 | Recessed Wood Buckout | 6.26 psf [300 Pa] |
2 | EIFS Base-Coat | 14.62 psf [700 Pa] |
3 | Hybrid Wood Buckout with Flanged Window | 6.26 psf [300 Pa] |
4 | Window Sealed Directly to Concrete Rough Opening | 14.62 psf [700 Pa] (tested up to 104.42 psf [5000 Pa]) |
Using good sealing methods stops gaps and improves insulation. The closed-cell design of EPS panels resists moisture, making them better at keeping heat in. This mix of sealing and material strength ensures energy savings and comfort in any weather.
Reminder: Always check sealed joints after applying to ensure they work well.
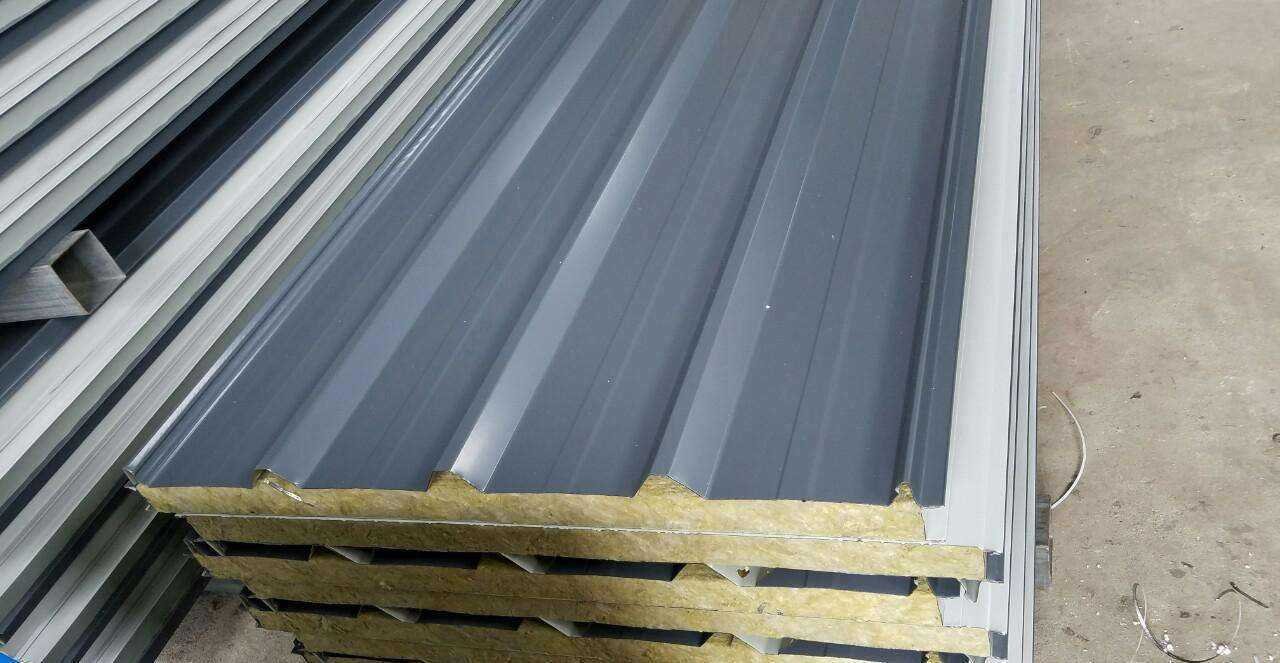
Adding Extra Insulation to EPS Panels
When and Why to Add Additional Insulation
Adding more insulation to EPS panels makes buildings more energy-efficient. While EPS panels already insulate well, some conditions need extra layers. In very cold places, extra insulation keeps heat inside and saves energy. In hot areas, it blocks heat from entering, lowering cooling costs.
Extra insulation also helps buildings perform better over time. Studies show EPS insulation keeps 95-97% of its thermal efficiency after seven years. It absorbs very little moisture, staying effective for years. Using graphite-enhanced EPS insulation can improve thermal resistance by 20%, cutting energy bills and reducing carbon emissions.
Real-life examples show the benefits of extra insulation. At Boulder Farms Town Homes, EPS Insulated Concrete Forms (ICF) cut energy use by nearly 50%. Maine Molecular Expansion used EPS insulation with 3.5 inches on each side, improving energy efficiency and lowering heating and cooling needs.
Tip: Add extra insulation if your area has extreme weather or if you want to save more energy.
Choosing the Right Insulation Materials
Picking the right insulation materials is important for better results. EPS insulation is a great choice because of its high R-value, ranging from R-3.9 to R-4.4 per inch. This means it resists heat well and is cost-effective for saving energy.
The closed-cell design of EPS stops water from soaking in, preventing mold and rot. It is lightweight, making it easy to carry and install, saving time and money. Graphite-enhanced EPS improves thermal resistance by 20% for even better performance.
When comparing materials, think about thermal performance, moisture resistance, and cost. For example:
Benchmark | Description |
|---|---|
Thermal Performance | High R-value means better heat resistance. |
Moisture Resistance | Closed-cell design keeps water out. |
Cost-Effectiveness | Affordable and insulates well. |
Ease of Installation | Lightweight and simple to install, saving labor costs. |
Choosing the right materials improves the insulation of EPS panels, making buildings more comfortable and energy-efficient.
Reminder: Check local building codes and ask experts to ensure materials are safe and effective.
Finishing Touches for EPS Panel Installation

Adding Trims and Profiles
Trims and profiles make your EPS panels look better and work well. They cover edges and joints, giving a smooth and neat finish. Pick trims that match your panel’s style and material. Aluminum and PVC trims are strong and resist bad weather.
Check the panel edges before adding trims. Make sure they are smooth and have no gaps. Fill any spaces with good sealant. This step helps keep heat in and makes the structure stronger. After preparing the edges, place the trims carefully along the joints. Use screws or glue to secure them, depending on the trim material.
Don’t rush this step. Misaligned trims can look messy and be weak. Measure and adjust each piece slowly. After attaching, check if the trims are even. Fix any uneven parts to get a clean, professional look.
Tip: Smooth the sealant before adding trims for a neat finish.
Making Panels Look Better with Coatings
Coatings protect and improve the look of EPS panels. They shield the surface from water, sunlight, and damage while giving a nice finish. Choose a coating that matches your building’s style. Paint, plaster, or textured finishes are good options.
Clean the panels well before coating. Remove dust and dirt so the coating sticks properly. Use a primer if needed, especially for rough surfaces. Apply the coating evenly with a roller or spray gun. For textured finishes, use special tools to get the right design.
Check the panels after the coating dries. Fix any uneven spots or areas you missed. A good coating not only looks nice but also helps the panels last longer.
Reminder: A smooth finish makes your panels look great and protects them from damage.
Ensuring Safety and Quality in EPS Panel Installation
Checking Panel Placement and Strength
Checking how roof sandwich panels are placed is very important. Panels that are not straight can weaken the building and waste energy. After putting up the panels, use a spirit level or laser level to check if they are straight. Make sure each panel fits tightly next to the others. Gaps between panels can let air escape and lower insulation.
Strength is also very important. Panels that are fastened well stay in place during wind or vibrations. Look at the screws and glue used to hold the panels. Tighten any loose screws and add more glue if needed. Pay extra attention to roof areas since they face more weather. Sealing gaps and joints properly helps keep heat in and makes the structure stronger.
Tip: Check everything right after installation to fix problems early.
Making Sure Safety Rules Are Followed
Following safety rules keeps roof sandwich panels strong and safe. These rules check fire safety, strength, and approvals. Make sure the materials meet local building codes and standards. For example, the EPS Board Exterior Wall Insulation System market highlights strict safety rules.
Fire safety is very important. Check if the panels meet fire rules to protect people and the building. Strength is also key. Make sure the panels can handle strong winds or heavy snow on the roof. Adding extra insulation in certain spots can make EPS cement sandwich panels work even better.
Reminder: Following safety rules protects the building and makes it last longer while saving energy.
Putting up EPS sandwich panels the right way makes them last longer. It also helps save energy and keeps them working well. Follow these steps for quick and accurate installation. First, prepare the surface and build a strong frame. Then, place the panels carefully in the right spots. Use screws and glue to hold them tight. Seal the gaps and add more insulation if needed. These actions make the panels stronger, better at keeping heat in, and look nicer.
Doing it properly makes the panels work better and saves time. Stick to the steps for a smooth and neat finish. Your hard work will make sure the panels stay strong and useful for many years.
FAQ
What tools are needed to install EPS sandwich panels?
You’ll need simple tools like a tape measure, level, knife, and screwdriver. For cutting, use a track saw or hot wire cutter. Don’t forget adhesives, screws, and sealants. Always test tools on scrap pieces first.
Tip: Always wear gloves and goggles to stay safe while working.
How can you make sure EPS panels fit well?
Measure the space carefully and mark where to cut. Use accurate tools to cut and smooth rough edges. Push panels close together during installation. Fill small gaps with foam or sealant to stop air leaks and save energy.
Reminder: Tight-fitting panels last longer and work better.
Is it possible to add more insulation to EPS panels?
Yes, you can add extra insulation to save more energy. Use materials like foam boards or graphite-enhanced EPS. This is especially useful in very hot or cold places. Extra insulation helps lower heating and cooling costs.
Note: Check local rules before adding extra insulation.
How do you take care of EPS sandwich panels?
Wash the panels with mild soap and water often. Look for cracks or gaps and fix them if needed. Don’t use strong chemicals that might harm the surface. Taking care of the panels makes them last longer.
Tip: Inspect the panels every six months to keep them in good shape.
Are EPS sandwich panels safe from fire?
EPS panels can meet fire safety rules when paired with fire-resistant coatings. Always check the maker’s details. Proper sealing and installation also help by reducing air gaps that spread fire.
Reminder: Make sure the panels meet fire safety standards before installing.