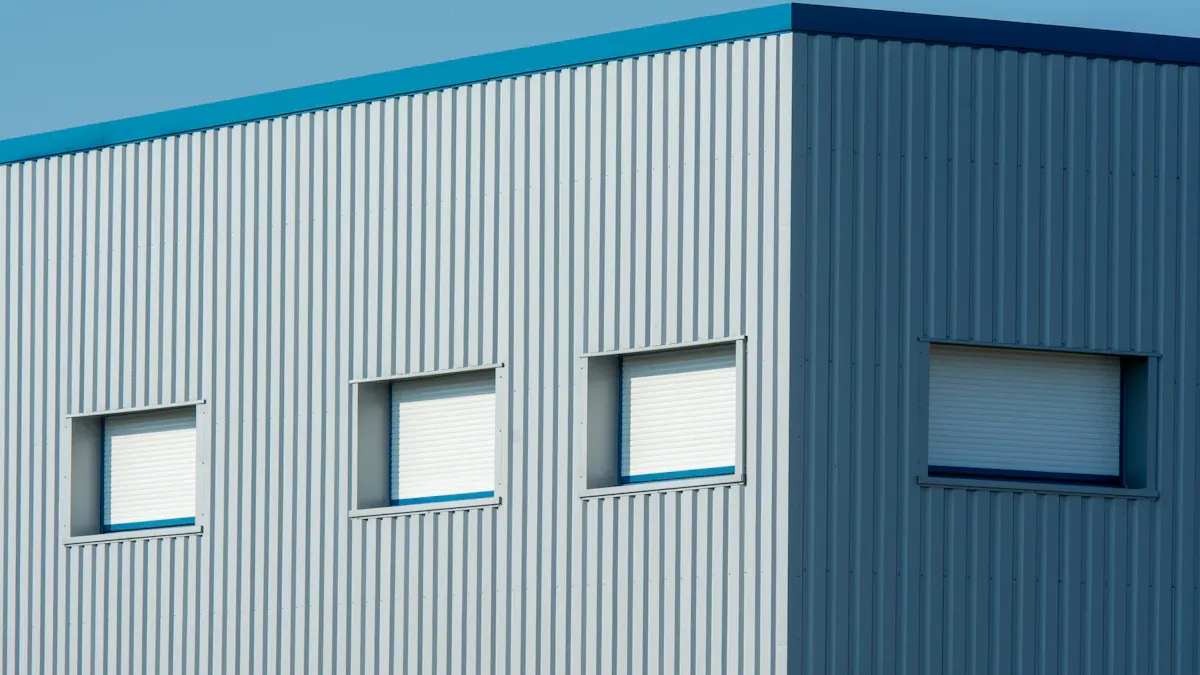
Proper installation is key to making sandwich panels last longer. When you install sandwich panels the right way, it improves energy savings and strength. Following the maker’s instructions and using good materials helps them stay tight and work well for a long time. Careful planning and correct methods stop problems like water leaks or panels not lining up, which can cause damage later.
For the best results, focus on getting ready, measuring carefully, and fastening securely. Check panels often and do upkeep, like adding sealants again and shielding them from bad weather. These steps help your panels stay useful and look nice for many years.
Key Takeaways
- Installing sandwich panels correctly makes them last longer and saves energy. Always follow the maker’s guide.
- Use proper tools, like rulers and cutters, for safe and exact work.
- Clean the area and check the base is flat before starting. This stops mistakes and future problems.
- Check your panels often to find small issues early. Fixing them helps them work better and last longer.
- Seal edges and joints well to stop leaks and keep heat in. Fix old seals to keep them working properly.
Tools and Materials for Installing Sandwich Panels

Important Tools
Using the right tools makes installation easier and faster. Here are the tools you’ll need:
- Measuring tools: A tape measure and level help with exact measurements. Tools like a spirit level or laser level keep panels straight during setup.
- Cutting tools: Use a utility knife, electric shears, or circular saw. These tools cut panels neatly so they fit perfectly in place.
- Fastening tools: A power drill and screwdrivers with depth settings are essential. They secure screws or rivets tightly, stopping panels from shifting.
Tip: Use scaffolding or panel lifters to move heavy panels safely. This prevents injuries and makes handling easier.
Materials You’ll Need
Get all materials ready before starting to avoid delays. Here’s a list to help you:
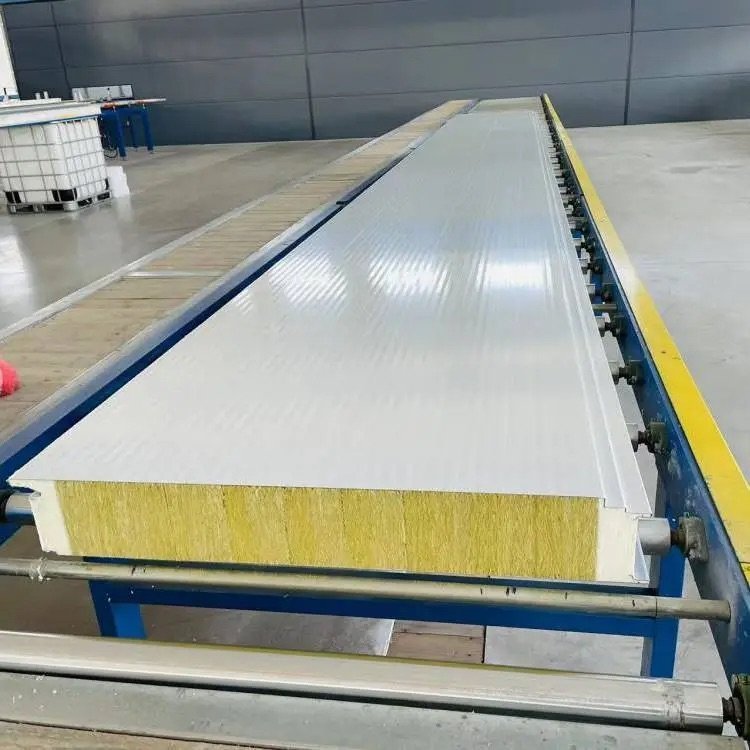
- PU Sandwich Panels by MaterixBuild: These panels are strong and insulate well. They come in different sizes and finishes for various projects.
- Sealants and adhesives: Use sealing tapes or glue to close gaps and stop leaks. Good sealing improves your panels’ energy efficiency.
- Insulation materials (if needed): Some projects may need extra insulation for better energy savings.
- Protective gear: Safety is important. Wear gloves, helmets, and safety glasses to stay safe while working.
| Tool Type | Purpose |
|---|---|
| Power drills & screwdrivers | Secure panels firmly. |
| Cutting tools | Make clean cuts for a good fit. |
| Leveling instruments | Keep panels straight and steady. |
| Personal protective equipment | Stay safe from possible dangers. |
| Lifting equipment | Move and place heavy panels safely. |
By getting these tools and materials ready first, you’ll work smoothly. This preparation helps you install panels well and get great results.
Preparing to Install Sandwich Panels
Site Preparation
Clear the area of debris and obstacles.
Clean the work area before starting. Remove trash, tools, or anything in the way. A clean space helps you move easily and stay safe. Look for uneven spots or hidden dangers that could cause problems.
Ensure the foundation or structure is level and stable.
Check if the base is strong and even. Use a level to make sure the surface is flat. Uneven areas can mess up the panel alignment. Clean off oil or dirt that might weaken the panel’s grip. A steady and clean base is very important.
Tip: Check the area for risks like weak spots or bad weather. This helps you avoid problems later.
Transport and Storage
Use proper equipment to avoid damaging the panels.
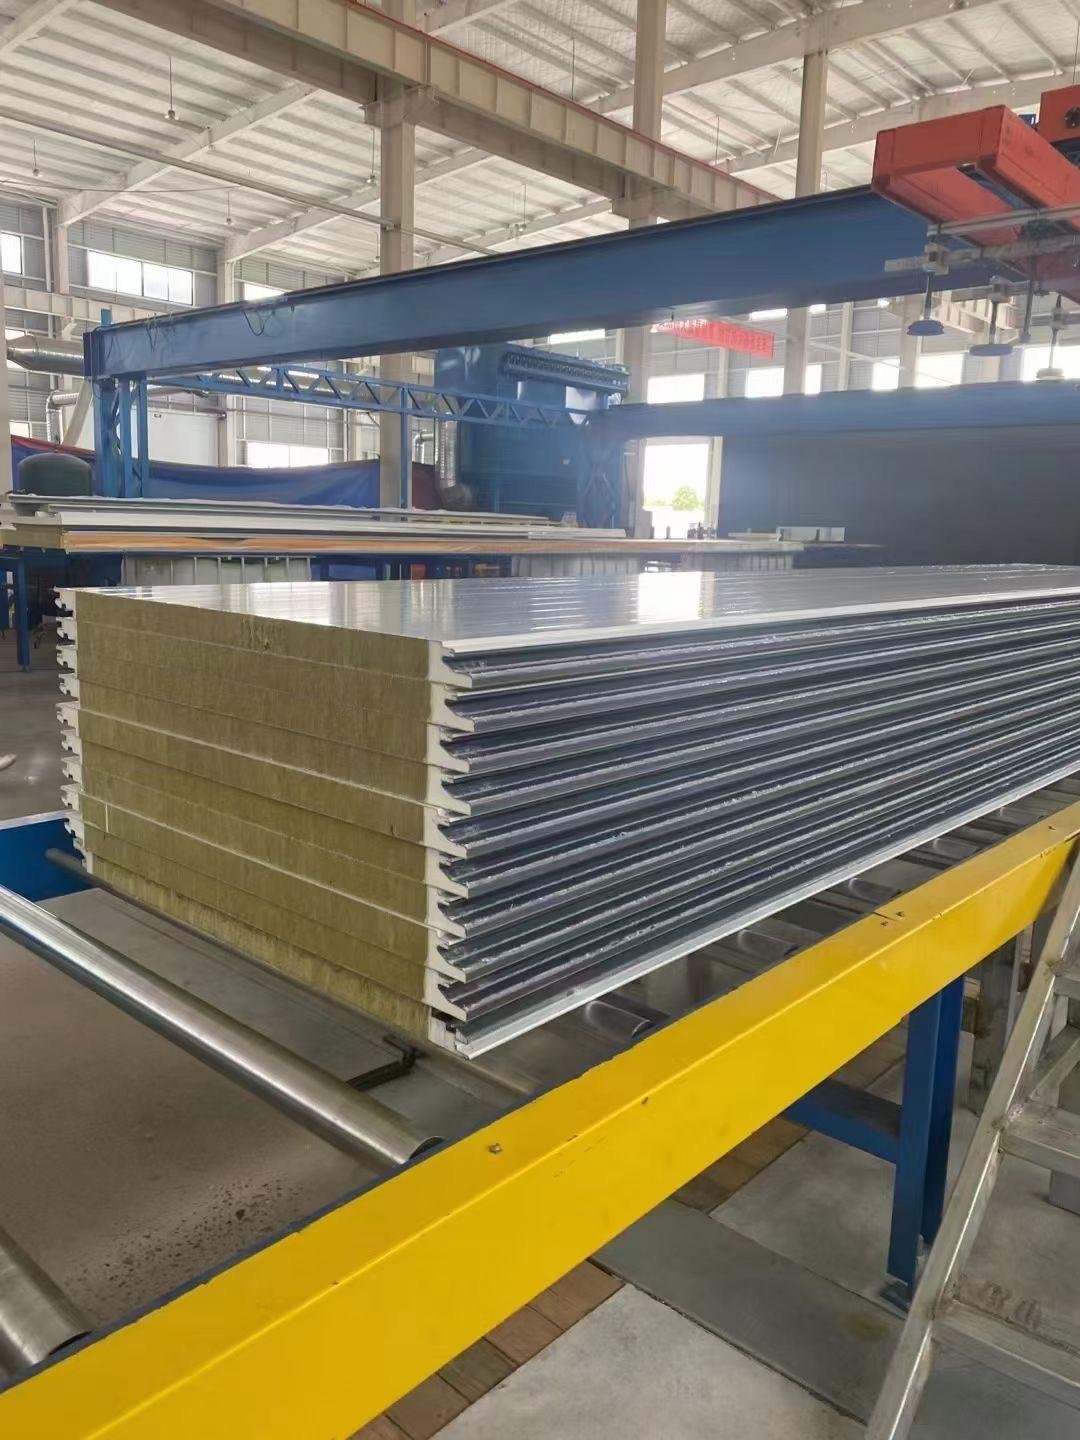
Be careful when moving the panels. Use forklifts or lifters to avoid dents or scratches. Don’t drag panels on rough surfaces to keep them safe. Careful handling keeps the panels in good shape.
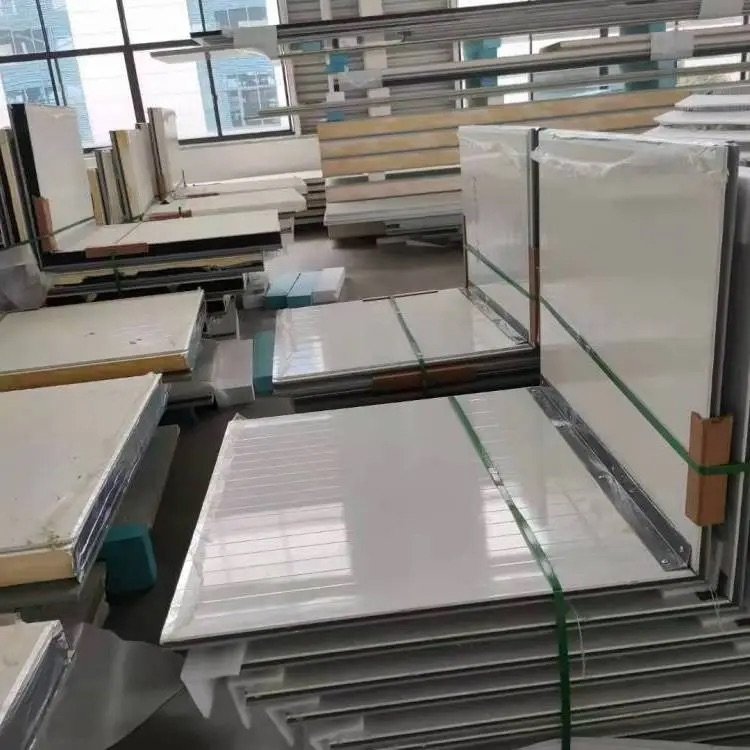
Store panels in a dry, shaded area to prevent warping or moisture damage.
Pick a dry, airy place to store panels. Keep them off the ground using pallets. Cover them with waterproof sheets to block rain or humidity. Keep them out of direct sunlight to stop warping.
Note: Good panels, like MaterixBuild’s PU Sandwich Panels, last long. Storing them right makes them last even longer.
Measuring and Planning
Measure the installation area accurately.
Use tools like a tape measure or laser level to measure. Double-check your numbers to avoid mistakes. Learn both fractional and decimal measurements for better accuracy.
Mark the layout for panel placement.
Plan where each panel will go by marking spots. Use templates or guides to keep markings neat. Label sections clearly to make the job easier. A good plan saves time and avoids errors.
Tip: Check both up-and-down and side-to-side lines for mistakes. Even small errors can cause big problems.
Step-by-Step Guide to Install Sandwich Panels
Installing the First Panel
Place the first panel with care for proper alignment.
Start by putting the first panel in its starting spot. Use a level to check if it is straight and matches your markings. This step is very important because it sets the base for the rest. If the first panel is crooked, gaps or uneven joints may appear later.
Tip: Look at the alignment from different sides before securing it. Being precise now saves trouble later.
Attach the panel with screws or rivets.
After positioning the panel, secure it tightly with screws or rivets. Use a power drill with depth control to avoid over-tightening. Place fasteners evenly, as the maker suggests, to keep the panel steady.
A well-installed first panel helps the rest fit perfectly, keeping the structure strong.
Adding Additional Panels
Match each panel to the previous one for a tight fit.
Place the next panel so it lines up with the first one. Overlap the edges as the design shows to seal tightly. Good alignment stops water leaks and keeps insulation working well.
- Lay panels facing away from strong winds to block rain.
- Check that the base is square to avoid misalignment.
Use sealant or adhesive on joints for waterproofing.
Before attaching the panel, add sealant or adhesive to the joint. This step blocks water and improves insulation. Use a caulking gun to apply it evenly, leaving no gaps. Sealed joints protect against rain and moisture damage.
Note: Sealing well helps save energy and makes panels last longer.
Cutting Panels to Fit
Measure and mark the panel carefully before cutting.
Measure the space where the panel will go using a tape measure. Mark the cutting line with a marker or knife for accuracy. Always “measure twice, cut once” to avoid wasting materials.
Use the right tools for smooth cuts.
Cut along the marked line with a circular saw or shears. Remember the blade’s thickness when marking to ensure precision. Use guides or templates for consistent cuts. Smooth edges help the panel fit snugly and stay strong.
Tip: Wear gloves and safety glasses while cutting to stay safe.
Final Adjustments
Check all joints and edges for gaps or mistakes.
Before finishing, look closely at all joints and edges. Search for gaps, uneven spots, or panels that don’t line up. Use a level or straightedge to make sure everything is straight. Focus on corners and overlapping parts, as they often have problems.
A careful check before covering ensures the structure is ready. Confirm the steel frame is built and aligned correctly. Use a checklist to see if welds, bolts, and fasteners are tight. Tools like laser levels or plumb bobs can help fix any crooked areas.
Tip: Walk around the structure and check from all sides. This helps you find issues you might miss from one angle.
Add extra sealant or insulation if needed.
After panels are aligned, fill gaps or open joints with sealant. Use a caulking gun to spread sealant evenly along seams. This step stops water leaks and keeps heat inside. For bigger gaps, add insulation before sealing.
Careful checks are important at this stage. Look at the sealant to ensure no spots are missed. Panels like MaterixBuild’s PU Sandwich Panels are strong, but good sealing makes them even better.
- Checklist for sealing and insulation:
- Make sure all joints are sealed completely.
- Look for air bubbles or uneven sealant.
- Use fire-safe insulation if needed.
Note: Final tests often check for heat loss and strength. These tests show the panels are ready to last a long time.
By doing these steps, you’ll finish the panels neatly. Good adjustments and sealing make the structure look better and last longer. They also save energy and improve durability.
Common Mistakes When Installing Sandwich Panels
Poor Site Preparation
Not leveling the foundation or structure
Make sure the base is flat before starting work. Uneven surfaces can make panels crooked, causing gaps and weak spots. Use a level to check and fix any uneven areas. A strong, even base helps panels fit well and work properly.
Did you know? Bad site prep can waste money and time. Fixing ground issues early avoids delays and accidents.
Leaving debris on-site, causing uneven panel placement
Clean the area completely before installing panels. Debris can stop panels from sitting right, creating gaps. Even small items can ruin insulation and waterproofing. A tidy workspace makes the job easier and gives better results.
- Problems from poor preparation:
- Leaks and weak structures.
- Higher costs and longer timelines.
- More risk of injuries at work.
Mishandling Panels
Damaging panels during transport
Be gentle when moving panels to avoid harm. Dropping or dragging them can dent or weaken them. Use forklifts or lifters to move them safely. Damaged panels look bad and make the structure weaker.
| Common Mistakes | How It Affects the Project |
|---|---|
| Poor structure preparation | Can cause leaks and weak spots. |
| Wrong sealing methods | Leads to water leaks and poor insulation. |
| Damaged panels during transport | Weakens the structure and looks unattractive. |
Storing panels in damp or wet places
Keep panels in a dry, shaded spot to avoid damage. Wet areas can cause bending or mold, making panels less durable. Use pallets to lift them off the ground and cover them with waterproof sheets. Good storage keeps panels in great shape until use.
Improper Sealing
Skipping sealant, causing leaks
Sealing is very important to stop water and heat loss. Apply sealant at joints and where walls meet roofs. Use materials like foam or butyl for strong sealing. Skipping this step can lead to leaks and wasted energy.
- Sealing tips:
- Add sealing tape to panel joints for extra safety.
- Make sure panels fit tightly to avoid gaps.
- Seal edges and holes to block water and air.
Using the wrong adhesive or sealant
Pick the right sealant for your panels. Using the wrong one can weaken joints and cause leaks. Follow the maker’s advice for the best results. Good sealing improves insulation and makes panels last longer.
Pro Tip: Check sealed joints for gaps or bubbles. Careful checks ensure they work well for a long time.
Maintenance Tips for Long-Lasting Sandwich Panels
Taking care of your sandwich panels keeps them strong and useful for years. Follow these tips to protect your panels and avoid expensive fixes.
Regular Inspections
Look for rust, cracks, or loose parts.
Check your panels often to spot problems early. Search for rust, cracks, or loose screws that might weaken them. Focus on areas facing bad weather or heavy use. Fixing small issues early stops bigger problems later.
- Why check often?
- Finds damage like rust or broken seals.
- Helps panels last longer.
Tip: Make a schedule to inspect panels regularly.
Check seals and joints for gaps or wear.
Seals and joints keep water and air out. Look for peeling or worn-out sealant. Fix any gaps quickly to keep the panels waterproof.
Smart care: Resealing joints often stops water from causing damage.
Cleaning and Care
Wash panels with mild soap and water.
Clean panels using soapy water and a soft cloth. This removes dirt without scratching. Avoid strong chemicals or pressure washers, as they can harm the surface.
- Cleaning tips:
- Use soft materials to protect the finish.
- Rinse well to remove all soap.
Note: Cleaning keeps panels looking good and prevents rust.
Don’t use harsh cleaners that can scratch.
Avoid rough scrubbers or strong detergents. These can damage the surface and shorten the panel’s life. Gentle cleaning is always better.
Repairs and Replacements
Replace damaged panels quickly to avoid bigger problems.
If a panel is badly damaged, replace it right away. Waiting can weaken the structure or waste energy. Keep extra panels ready for quick fixes.
- Steps to fix panels:
- Find cracks or dents.
- Remove and replace the damaged panel.
- Secure the new panel tightly.
Add sealant to worn joints.
Sealant keeps panels watertight. Over time, it may crack or wear out. Add new sealant to any weak spots. Use a caulking gun to apply it evenly and fill all gaps.
| Maintenance Tip | What It Does |
|---|---|
| Regular Inspection | Spots problems like rust or broken seals early. |
| Preventive Maintenance Strategies | Includes cleaning, inspections, and protective coatings. |
| Sealing of Joints and Edges | Stops water from getting in and causing damage. |
Reminder: Keep notes on all maintenance work. This helps you track panel condition and plan care.
By following these tips, your sandwich panels will last longer and work better. Regular care saves money and keeps your panels strong for years.
Putting up sandwich panels needs good prep, careful work, and upkeep. Follow this guide to keep your panels strong and working well for years.
- Preparation: Clean the area, measure carefully, and plan where panels go.
- Installation: Place panels straight, fasten them well, and seal gaps.
- Maintenance: Check often, clean softly, and fix problems quickly.
Tip: Using proper tools and methods saves effort and gives great results. Stick to this guide for a solid, energy-saving setup that lasts long.
FAQ
What are sandwich panels used for?
Sandwich panels insulate and support walls, roofs, and cold storage. They work well for energy-saving buildings needing light but strong materials.
Can I install sandwich panels without professional help?
Yes, you can! With good tools, materials, and planning, installing sandwich panels is a doable DIY task. Follow this guide for easy steps.
How do I choose the right sealant for my panels?
Choose a sealant that matches your panel material. For MaterixBuild PU Sandwich Panels, use polyurethane or butyl-based sealants for strong, waterproof joints.
Tip: Always follow the maker’s advice for the best results.
Do I need extra insulation with sandwich panels?
Not always. MaterixBuild PU Sandwich Panels already provide great thermal insulation. But in extreme weather, extra insulation can improve energy savings.
How can I prevent damage during transport?
Use forklifts or lifters to move panels safely. Don’t drag them on rough surfaces. Store them in a dry, shaded place to avoid moisture or bending.
Reminder: Careful handling keeps your panels in great shape for use.