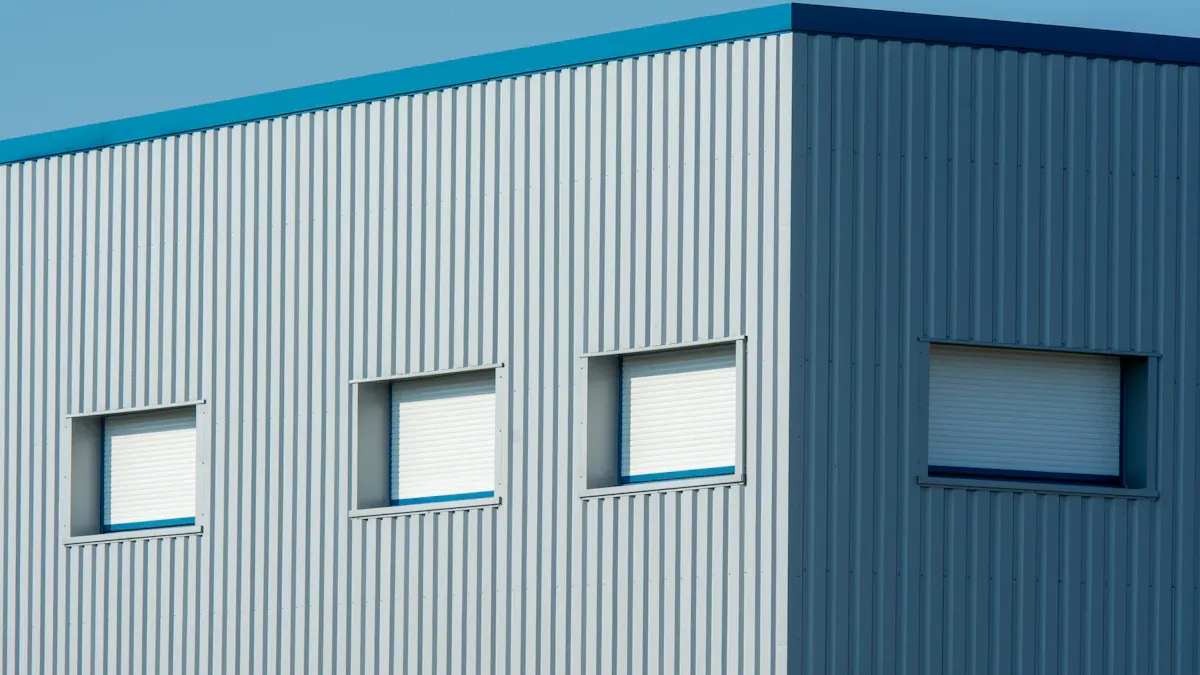
Proper installation of sandwich panel roofing is critical for ensuring its durability and long-term performance. A solid substructure forms the backbone of this process, as it prevents issues like moisture intrusion and structural failure. Studies have shown that improper installation can compromise fire safety and reduce the overall effectiveness of the roofing system. For instance, the materials used in panel joint fixing, such as aluminum or stainless steel, significantly impact the roof’s resilience. By following a systematic approach, you can install sandwich panel roofing with confidence, achieving both safety and efficiency.
Key Takeaways
Always wear safety gear like gloves and helmets to stay safe.
Use proper measuring tools and cutters to make panels fit well.
Attach panels with screws at the right spots to keep them steady and stop leaks; use rust-proof screws for long-lasting results.
Cover all joints and edges with good sealant to block water and protect the roof from getting wet.
Check and clean the roof often to find damage early and keep it looking good and working well.
Safety Precautions for Installing Sandwich Panels
When installing sandwich panel roofing, following safety precautions is essential to prevent injuries and ensure a smooth process. Let me walk you through the key measures to keep yourself and your worksite safe.
Personal Protective Equipment (PPE)
Wearing the right gear can make a huge difference. I always recommend using gloves, helmets, and safety harnesses. These items protect against falls and head injuries, which are common risks in roofing work. Non-slip footwear is equally important. It provides stability and reduces the chance of slipping on the roof’s surface.
Did you know? Studies show that wearing PPE like hard hats and gloves significantly reduces the risk of injuries during roofing projects.
Site Safety Measures
Before starting, I ensure the work area is stable and clean. Loose debris or tools can create tripping hazards. I also avoid working during adverse weather conditions, such as strong winds or rain. These conditions increase the risk of accidents and make handling panels more challenging.
Tip: Always assess the roof for loose tiles or weak spots before stepping onto it. This simple step can prevent falls, one of the leading causes of injuries in roofing.
Safe Handling of Panels
Handling sandwich panels requires care. I use proper lifting techniques to avoid straining my back. For example, I bend my knees and keep the panel close to my body while lifting. Moving panels carefully also prevents damage to their edges or surfaces, which could compromise their performance.
Remember, proper training is crucial. It helps you handle tools safely and recognize potential hazards on the job.
By following these safety precautions, you can minimize risks and focus on completing your project efficiently.
Tools and Materials to Install Insulated Roof Panels

Having the right tools and materials is essential when you install insulated roof panels. They not only make the process smoother but also ensure the durability and performance of the roof sandwich panels.
Essential Tools
Measuring tape and chalk line
Accurate measurements are the foundation of a successful installation. I always use a reliable measuring tape to determine the dimensions of the roof. A chalk line helps me mark straight lines for panel placement, ensuring precision during installation.
Power drill and screws
A power drill is indispensable for fastening panels securely. I recommend high-performance brands like Dewalt or Makita. These drills enhance efficiency and reduce effort. Using screws specifically designed for sandwich panels ensures a strong and lasting connection.
Tool Type | Key Features | Benefits to Roofing Projects |
|---|---|---|
Power Drills | High-performance brands like Dewalt, Makita, etc. | Enhances efficiency in drilling tasks |
Cutting Tools | HART roofing cutter with 9,600 SPMs | Saves time and reduces user fatigue |
Auto-Feed Screw Systems | Quik Drive® systems with quick-loading screw strips | Increases speed and accuracy in fastening |
Cutting tools (e.g., circular saw with metal blade)
Cutting panels to the correct size is crucial. I prefer using a circular saw with a metal blade for clean and precise cuts. This tool saves time and minimizes material waste.
Required Materials
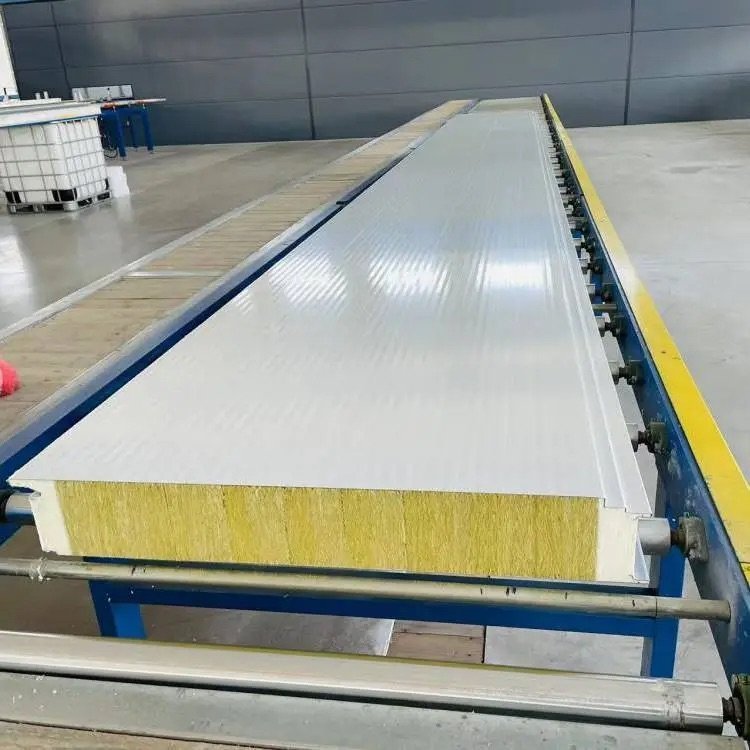
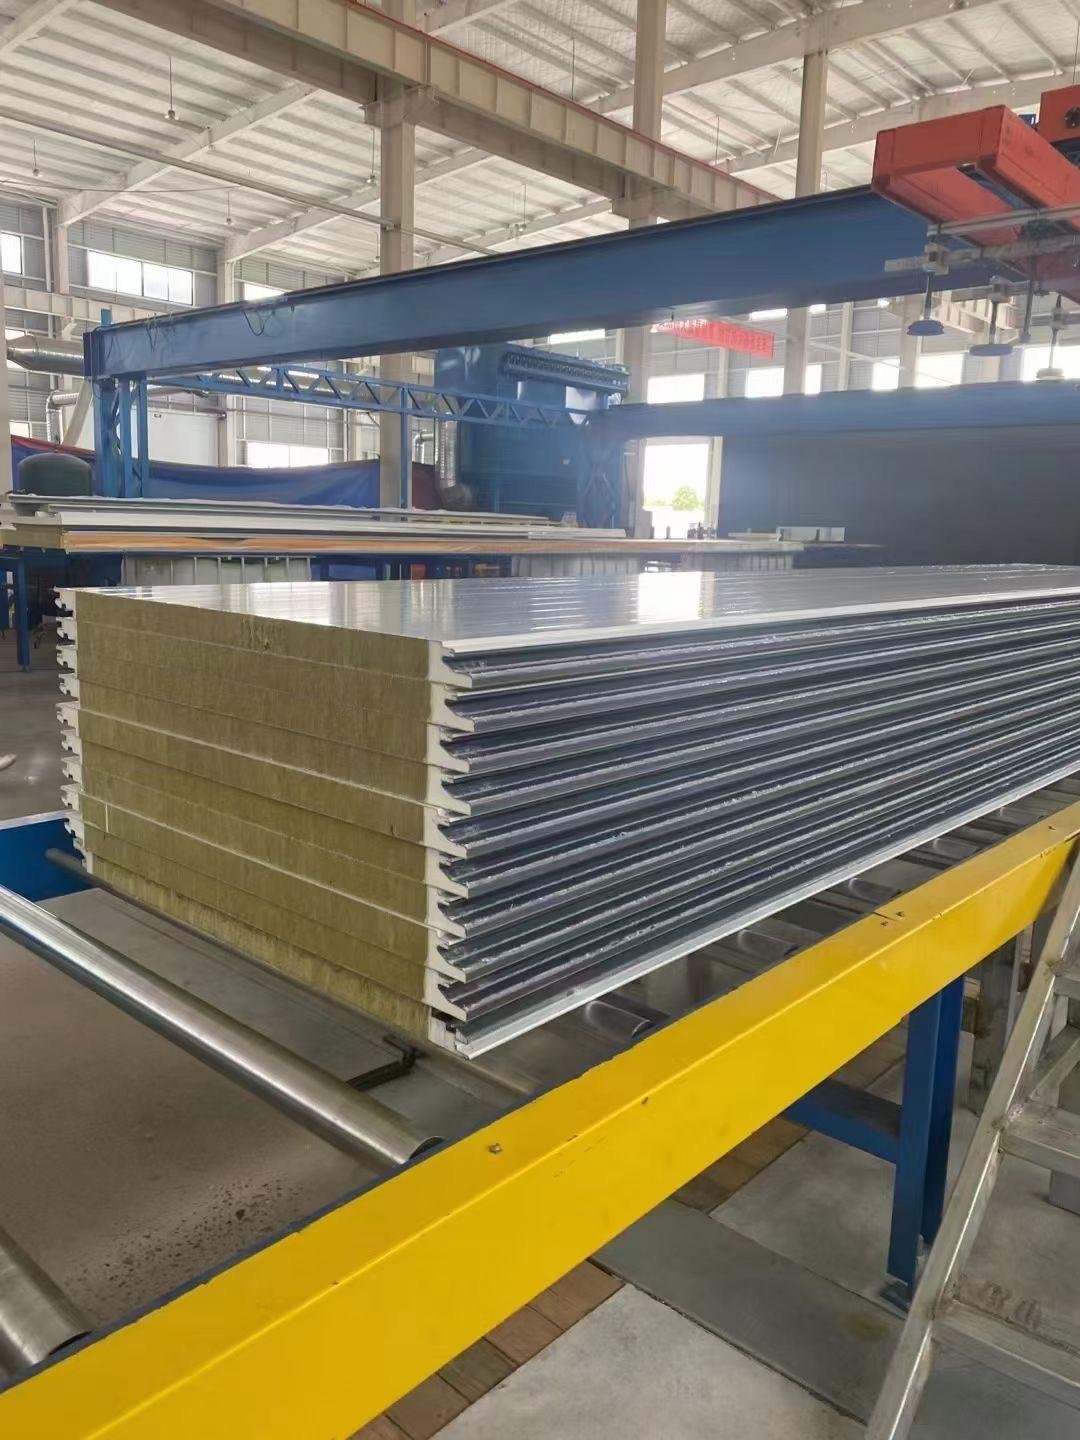
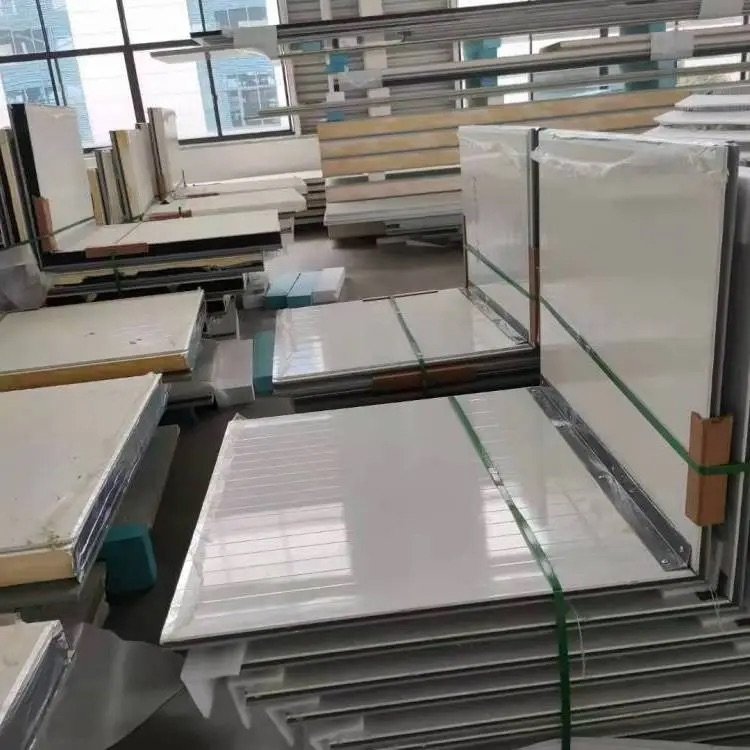
Sandwich panels
The core material for this project is the sandwich panels themselves. These panels provide excellent insulation and structural support. Whether you’re working on a roof, wall sandwich panel, or ceiling sandwich panel, choosing high-quality panels ensures better performance.
Fasteners and sealants
Fasteners like stainless screws prevent damage from moisture and weather. Sealants and sealing strips block water, dust, and air, creating a watertight and durable roof. I always use materials designed for roofing applications to achieve the best results.
Tip: Use head screws with rubber washers to prevent water intrusion at connections.
Flashing and insulation materials
Flashing protects roof edges and joints from water penetration. Additional insulation improves thermal and acoustic performance, especially in extreme climates. These materials not only enhance the roof’s efficiency but also contribute to its overall aesthetics.
By using the right tools and materials, you can simplify the process and achieve a professional-quality installation. Proper preparation ensures that your roof sandwich panels perform optimally for years to come.
Preparing the Roof for Sandwich Panel Installation
Proper roof preparation is essential for a successful installation of sandwich panels. Let me guide you through the steps to ensure your roof is ready for this process.
Inspecting the Roof Structure
Before installing sandwich panels, I always inspect the roof structure thoroughly. This step helps identify any potential issues that could compromise the installation.
I start by checking the structural integrity of the roof. Weak or damaged areas can lead to instability, so I repair them before proceeding.
Ensuring the roof is level and clean is equally important. A level surface allows for smoother panel placement, while a clean roof prevents debris from interfering with the installation.
Tip: Pay attention to the distance between the main supports. This ensures the roof can handle the weight of the panels effectively.
Additionally, I verify that the deck is square and level. This small step saves time during installation and prevents alignment problems later. For secure installation, I make sure to use at least one screw per square meter of ceiling sandwich panel.
Measuring and Planning
Accurate measurements and careful planning are the foundation of a successful project. I always take the time to calculate and mark everything before starting.
Calculating the required number of panels: I measure the roof dimensions and divide the total area by the size of one panel. This calculation ensures I have enough panels for the job, including a few extras for mistakes or adjustments.
Marking panel placement with chalk lines: Using a chalk line, I mark straight lines on the roof to guide panel placement. This step ensures proper alignment and overlap during installation.
Note: Proper planning also applies to other materials like fasteners and sealants. Having everything ready reduces delays and keeps the process efficient.
By following these steps, I ensure the roof is well-prepared for the installation of roof sandwich panels. This preparation not only simplifies the process but also enhances the durability and performance of the final structure.
Step-by-Step Guide to Install Sandwich Panel Roofing

Measuring and Cutting Panels
Measuring panels to fit the roof dimensions
Accurate measurement is the foundation of a successful installation. I always start by measuring the roof dimensions carefully. Using a measuring tape, I determine the exact length and width required for each panel. To avoid errors, I double-check all measurements before marking the panels. Following the manufacturer’s instructions ensures that the panels fit perfectly and perform as intended.
Key tips for precise measurement:
Mark the panels according to the roof dimensions.
Use high-quality tools for accuracy.
Double-check dimensions to prevent misalignment.
Cutting panels accurately to size
Once the measurements are complete, I cut the sandwich panels to size. A fine-toothed saw or a circular saw with a metal blade works best for clean cuts. I always handle the panels with care to avoid damaging the edges. Investing in reliable cutting tools ensures precision and reduces material waste.
Pro Tip: Follow the cutting guidelines provided by the panel manufacturer for the best results.
Placing and Aligning Panels
Starting from the bottom edge of the roof
I begin the installation at the bottom edge of the roof. This starting point provides a stable base for the rest of the panels. Placing the first panel correctly is crucial, as it sets the alignment for the entire roof.
Ensuring proper alignment and overlap
Proper alignment is essential for both functionality and aesthetics. I ensure that each panel overlaps the previous one slightly, creating a watertight seal. Maintaining modularity and squareness during placement prevents deformation and ensures the roof looks professional.
Benefits of correct alignment:
Prevents structural issues like panel deformation.
Enhances the roof’s visual appeal.
Reduces the risk of costly replacements.
Performance Metric | Significance |
|---|---|
Prevention of Structural Issues | Correct alignment prevents deformation under stress, avoiding costly repairs and replacements. |
Maintenance of Aesthetic Appeal | Proper placement ensures a visually appealing roofing system, enhancing property value. |
Overall Functionality of the System | Ensures that the roofing system operates effectively, contributing to its longevity and reliability. |
Fastening Panels
Securing panels with screws and fasteners
I secure the panels using screws and fasteners designed for sandwich panels. A power drill makes this process quick and efficient. I place the screws at regular intervals to ensure a strong connection.
Maintaining consistent spacing between fasteners
Consistent spacing between fasteners is critical for stability. I follow the manufacturer’s recommendations for spacing, which typically ranges from 12 to 18 inches. This ensures the panels remain secure under various weather conditions.
Note: Using screws with rubber washers prevents water intrusion and enhances durability.
By following these steps, you can install sandwich panel roofing efficiently and achieve a durable, professional finish.
Sealing Joints and Edges
Applying sealant to panel joints
Sealing the joints between sandwich panels is a critical step in the installation process. I always start by cleaning the panel edges to remove dust or debris. This ensures the sealant adheres properly. Using a high-quality roofing sealant, I apply a continuous bead along the joint where two panels meet. A caulking gun makes this process easier and more precise.
After applying the sealant, I press the panels together firmly to create a tight bond. This step prevents gaps that could allow water or air to seep through. I also inspect the joints to ensure the sealant is evenly distributed. Uneven application can compromise the roof’s performance.
Tip: Use a sealant recommended by the panel manufacturer for the best results. It ensures compatibility and durability.
Ensuring a watertight seal
To achieve a watertight seal, I carefully check all the joints after sealing. Any missed spots or uneven areas can lead to leaks. I use a putty knife to smooth out the sealant and fill any gaps. This step not only improves the seal but also enhances the roof’s appearance.
A watertight seal is essential for protecting the structure from moisture damage. It also helps maintain the insulation properties of the sandwich panels. Proper sealing ensures the roof performs well in all weather conditions.
Installing Flashing
Placing flashing at roof edges and joints
Flashing plays a vital role in protecting roof edges and joints. I begin by measuring and cutting the flashing to fit the roof’s dimensions. Using a metal snip, I ensure clean and precise cuts. I then position the flashing along the edges and joints, overlapping it slightly with the sandwich panels. This overlap prevents water from entering the roof structure.
Placing the flashing correctly is crucial. It directs water away from vulnerable areas, reducing the risk of leaks. I always double-check the alignment before securing it in place.
Securing flashing with screws and sealant
Once the flashing is in position, I secure it using screws and a power drill. I space the screws evenly to ensure a strong and stable connection. After fastening, I apply a bead of sealant along the edges of the flashing. This step creates an additional barrier against water intrusion.
Note: Use corrosion-resistant screws to prevent rust and extend the life of the flashing.
Properly installed flashing enhances the durability of the roof. It works in tandem with the sandwich panels to provide a reliable and long-lasting roofing system.
Final Inspection and Maintenance Tips for Insulated Roof Panels
Inspecting the Installation
Checking for gaps or loose fasteners
After completing the installation, I always inspect the roof carefully. I start by checking for any gaps between the panels. Gaps can allow water or air to seep through, which reduces the roof’s effectiveness. I also examine all fasteners to ensure they are tight and secure. Loose screws can compromise the stability of the panels.
To make this process easier, I use a flashlight to spot any hidden gaps or loose fasteners. If I find any issues, I fix them immediately. Tightening screws or applying additional sealant to gaps ensures the roof remains watertight and durable.
Tip: Perform this inspection during daylight hours for better visibility.
Ensuring all panels are properly sealed
Proper sealing is critical for the roof’s performance. I inspect the joints and edges of the panels to confirm that the sealant is evenly applied. Any missed spots or uneven areas can lead to leaks. I use a putty knife to smooth out the sealant and fill any gaps.
I also test the seal by spraying water over the roof and checking for leaks. This simple step helps me identify weak points before they become bigger problems.
Maintenance Tips
Regularly cleaning the roof to prevent debris buildup
Keeping the roof clean is essential for its longevity. I remove leaves, dirt, and other debris regularly. These materials can trap moisture, which may lead to rust or mold. A soft-bristle broom or a low-pressure hose works well for cleaning without damaging the panels.
Note: Avoid using harsh chemicals or high-pressure washers, as they can harm the roof’s surface.
Inspecting for damage or wear over time
Periodic inspections help me catch small issues before they turn into costly repairs. I look for signs of wear, such as scratches, dents, or rust. If I find any damage, I address it immediately. For example, I apply touch-up paint to scratches or replace damaged fasteners.
By following these maintenance tips, I ensure the roof remains in excellent condition for years to come. Regular care not only extends the roof’s lifespan but also maintains its performance and appearance.
Installing sandwich panel roofing requires careful planning and execution. Let me recap the key steps to help you succeed:
Deliver materials like sandwich panels and subframe components to the site.
Unload materials using proper handling equipment.
Assemble and install subframes with beams, posts, and purlins.
Remove the protective film from the panels.
Fasten panels to the subframe using suitable fasteners.
Seal joints and install flashing for a watertight finish.
Safety and maintenance are equally important. I always assess roof conditions before starting, clean the work area, and use proper PPE. Regular inspections and cleaning prevent damage and extend the roof’s lifespan.
Following this guide ensures a durable, professional-quality roof. Take your time, prioritize safety, and maintain your roof regularly for long-lasting results.
FAQ
What is the best way to handle sandwich panels during installation?
I always lift panels with care to avoid bending or damaging them. Using proper lifting techniques, like bending my knees and keeping the panel close to my body, helps prevent injuries. For larger panels, I recommend working with a partner or using lifting equipment.
Tip: Avoid dragging panels across rough surfaces to prevent scratches.
Can I install sandwich panels without professional help?
Yes, you can! By following this guide and using the right tools, you can confidently install sandwich panels yourself. However, I suggest consulting a professional if the roof structure is complex or if you lack experience with roofing projects.
How do I ensure the roof is watertight?
To ensure a watertight roof, I always apply sealant to all panel joints and edges. I also install flashing at vulnerable areas like roof edges and overlaps. Checking for gaps during the final inspection is crucial for preventing leaks.
What type of screws should I use for sandwich panels?
I recommend using corrosion-resistant screws with rubber washers. These screws provide a secure connection and prevent water intrusion. Always follow the manufacturer’s guidelines for screw type and spacing to ensure durability.
How often should I inspect my sandwich panel roof?
I inspect my roof at least twice a year. Regular inspections help me spot damage, wear, or debris buildup early. After severe weather, I also check for loose fasteners or leaks to maintain the roof’s performance.
Note: Cleaning the roof during inspections extends its lifespan.